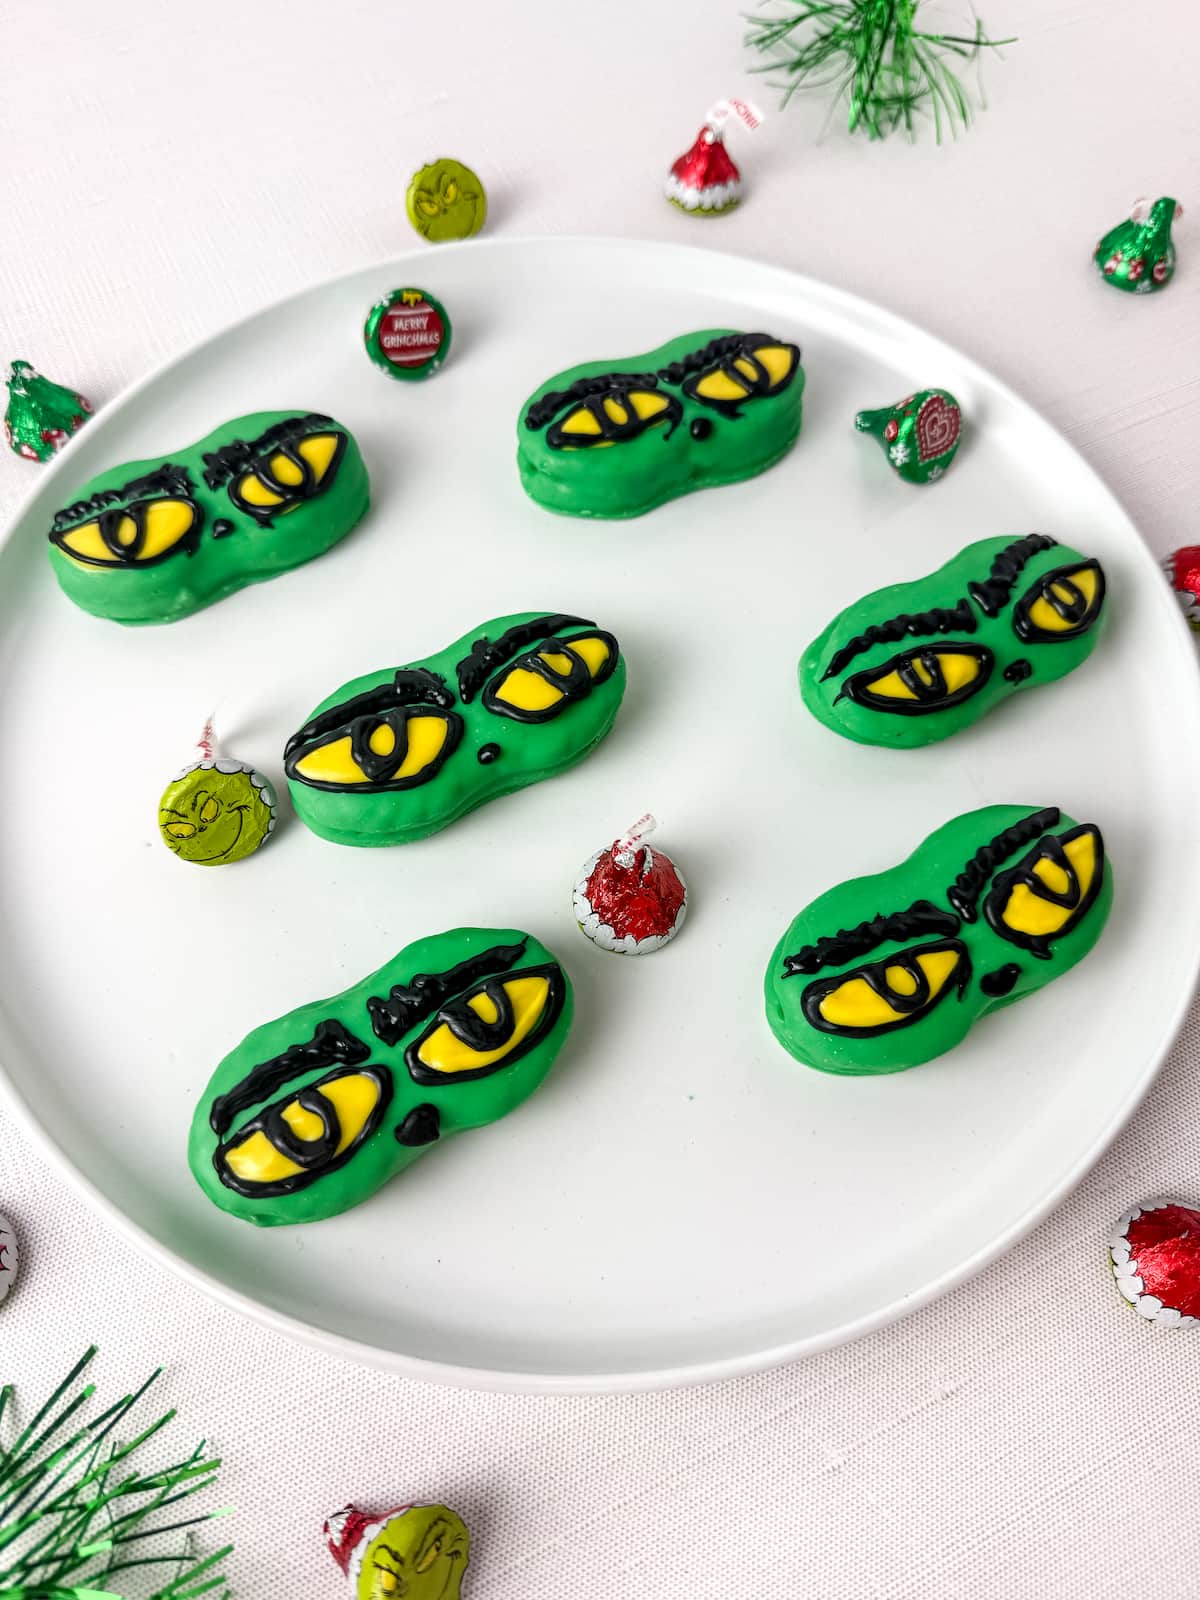
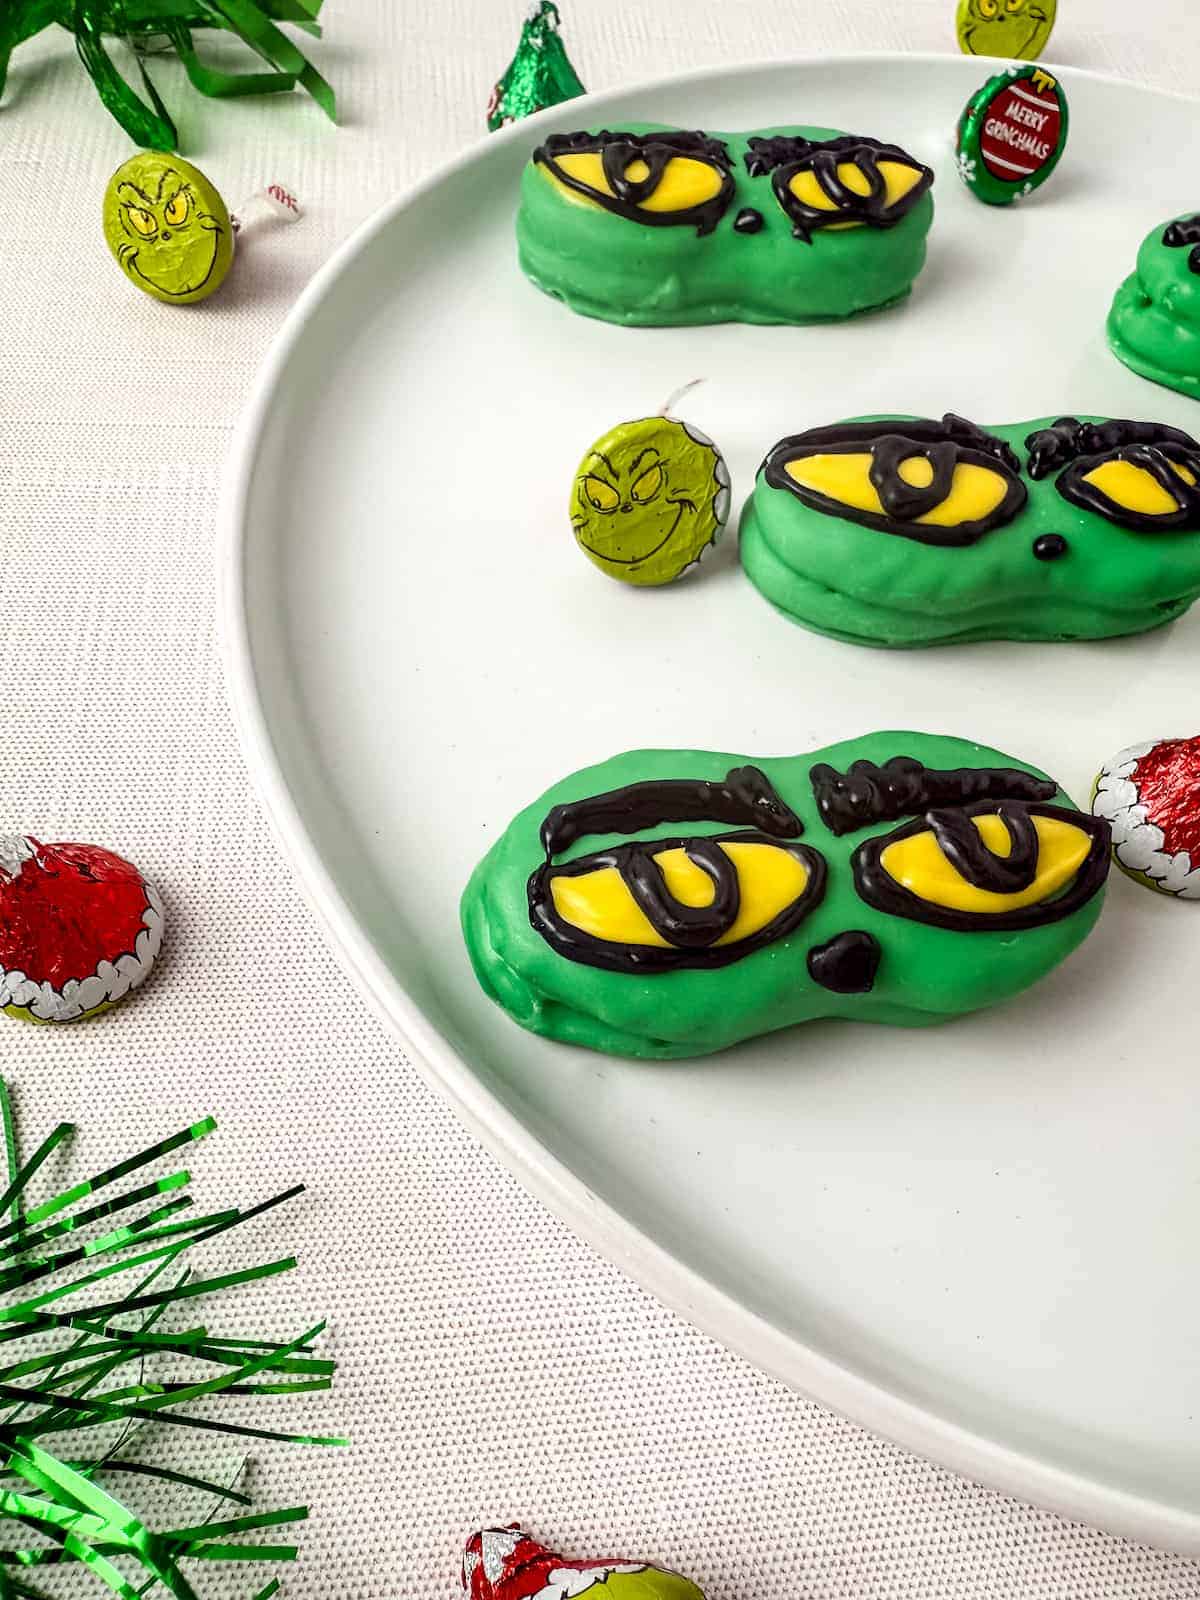
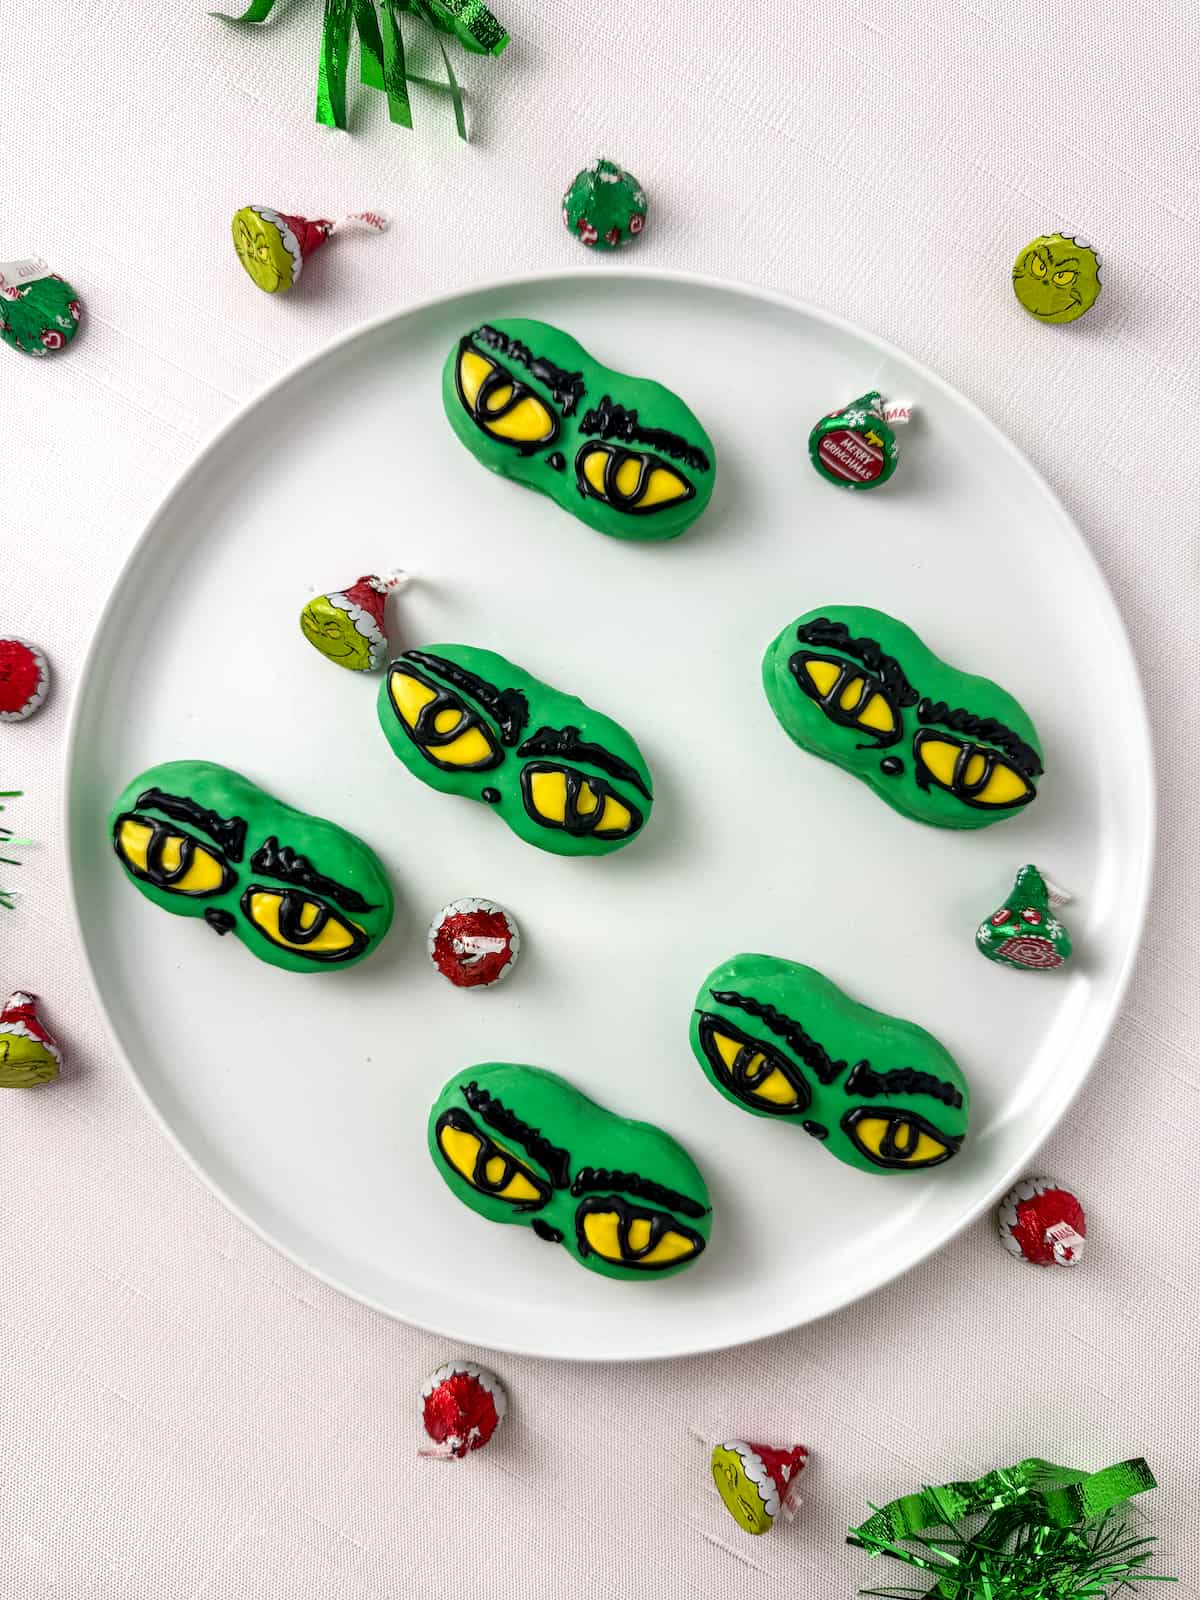
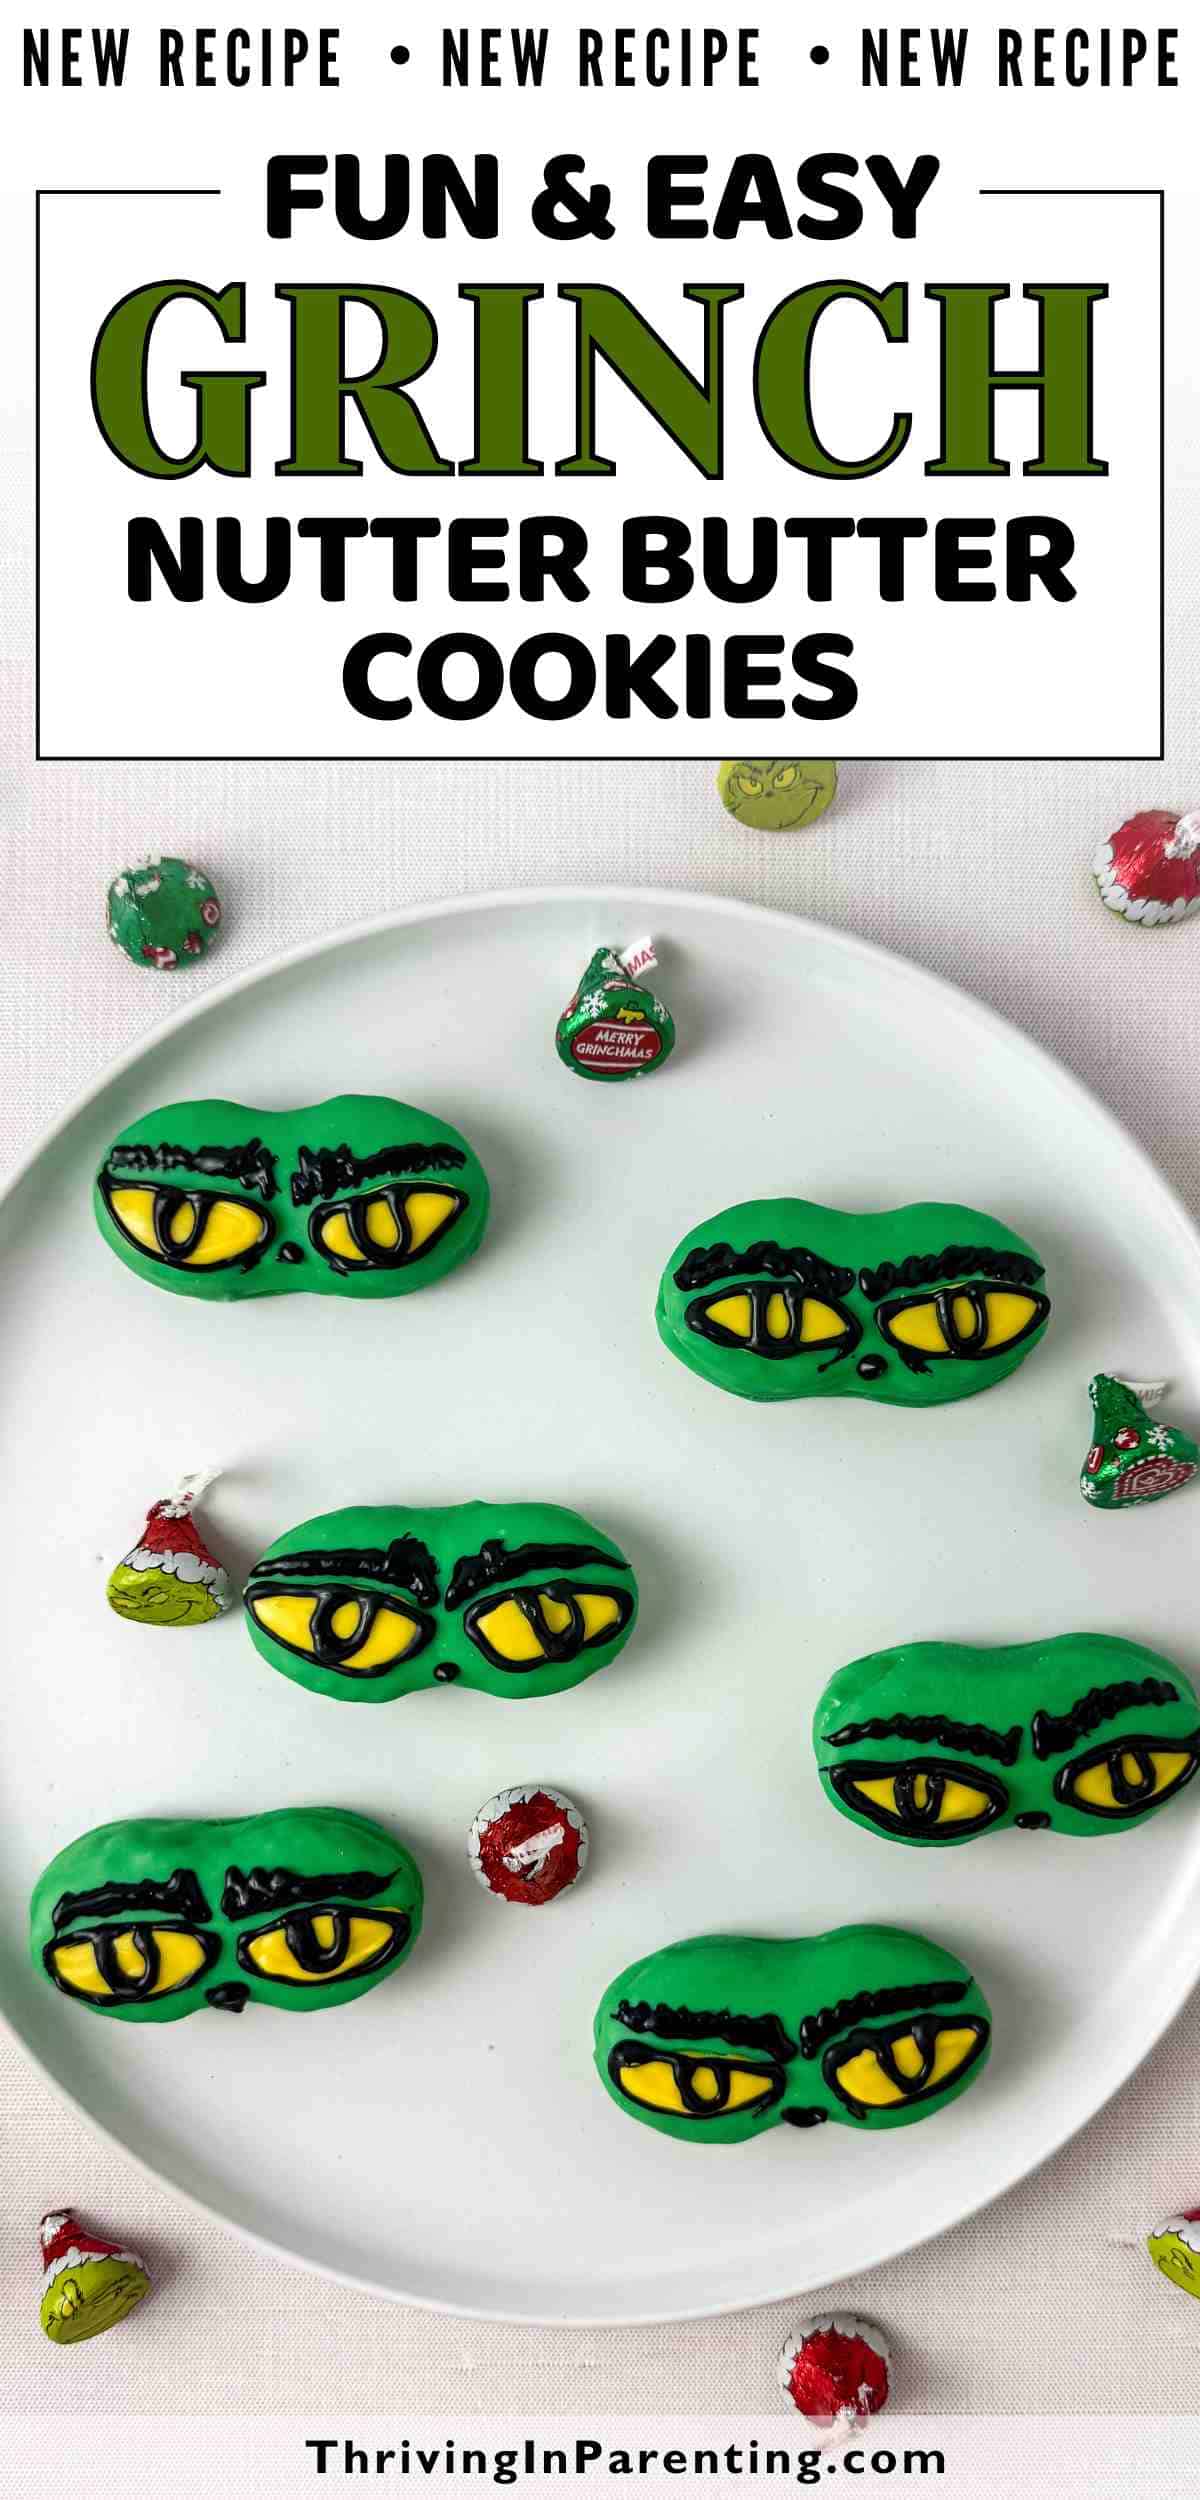
These Grinch nutter butter cookies are a fun and festive way to add a little mischief to your Christmas dessert table. Each cookie turns a classic nutter butter into a tiny Grinch face, complete with green chocolate, expressive eyes, and fluffy eyebrows, making this Grinch-themed dessert as cute as it is sweet.

Perfect as a Grinch-themed treat, these Christmas cookies are kid-friendly and simple enough for a holiday baking session with the whole family.
They’re ideal for holiday parties, gift-giving, or for a playful afternoon in the kitchen. Whether you’re creating treats for friends, decorating a festive dessert table, or letting kids join in on the fun, these Grinch Christmas cookies are sure to bring smiles and holiday cheer to everyone who tries them.
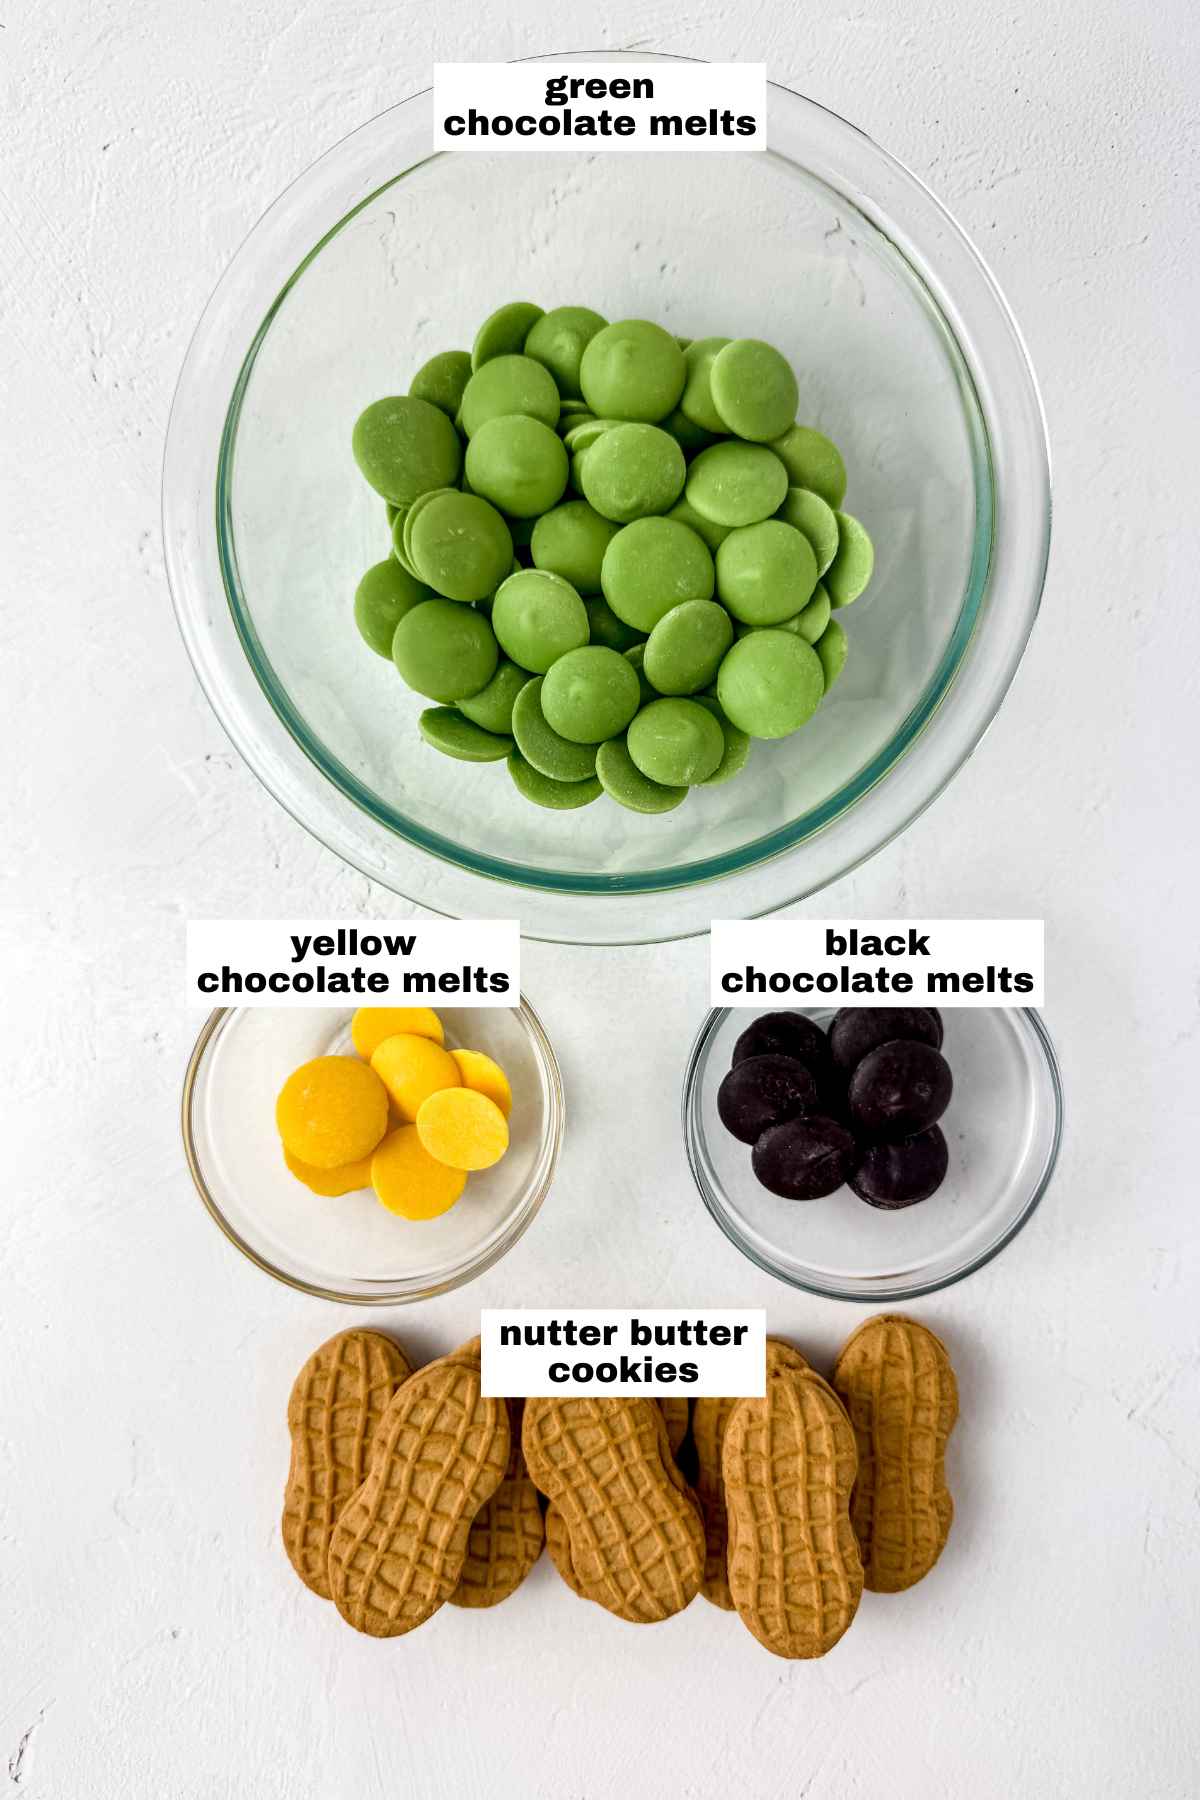
Ingredients for Grinch Nutter Butter Cookies
- 10 nutter butter cookies
- 6 oz of green chocolate melt
- 2 oz of yellow chocolate melt
- 2 oz of black chocolate melt
Step-by-Step Instructions with Pictures
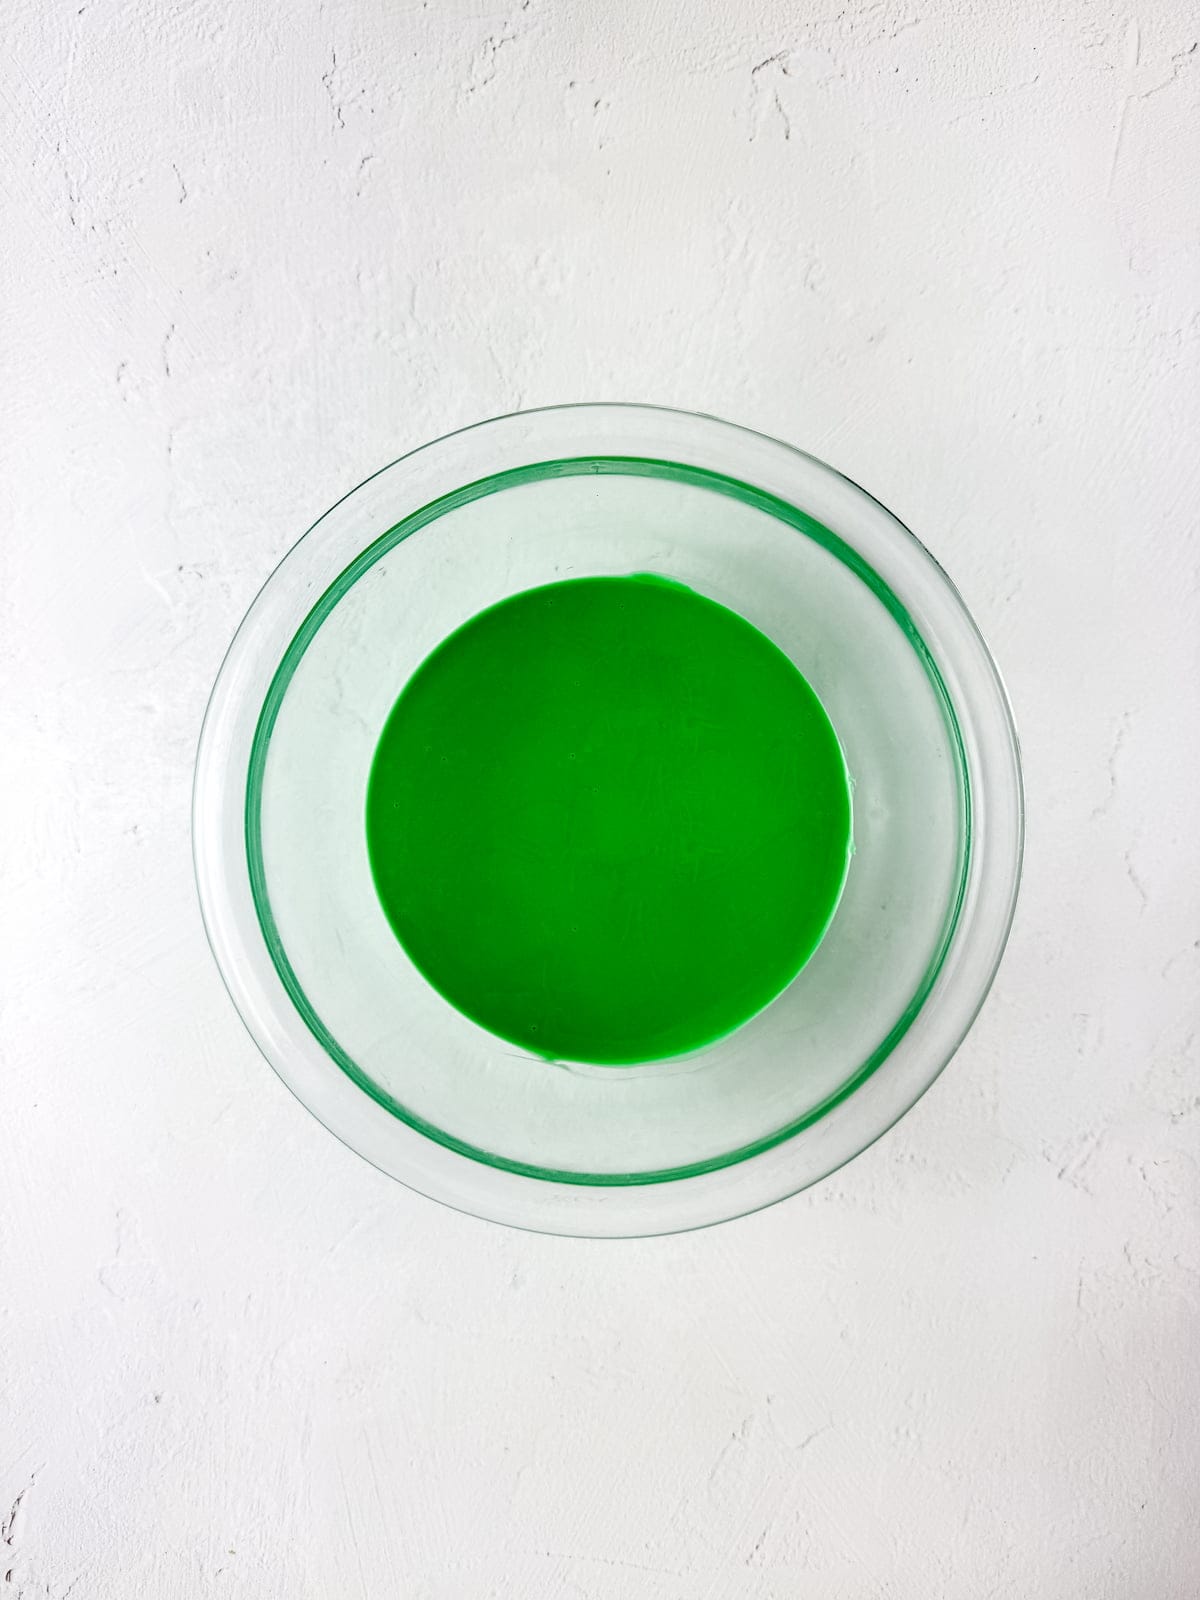
Place the green chocolate melts in a microwave-safe bowl. Melt the chocolate in 30-second intervals until it is completely liquified.
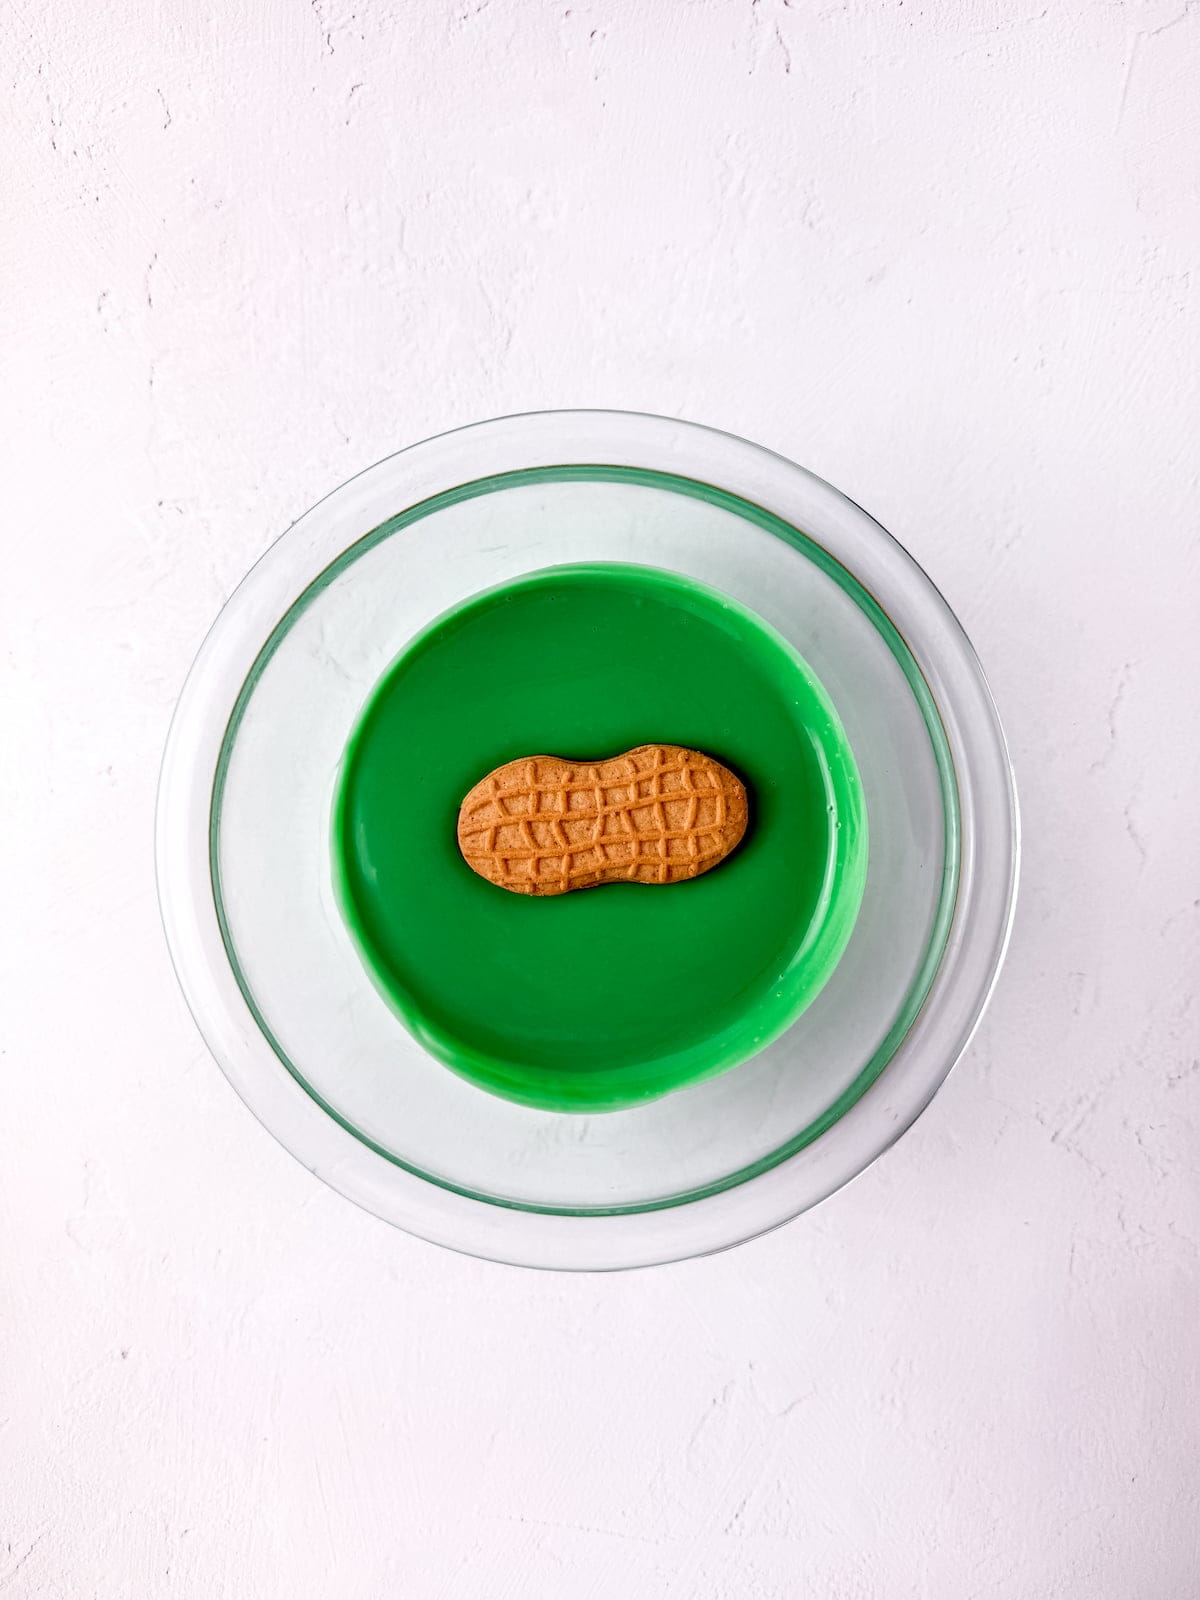
Dip one nutter butter at a time into the green melted chocolate, making sure it is completely covered.
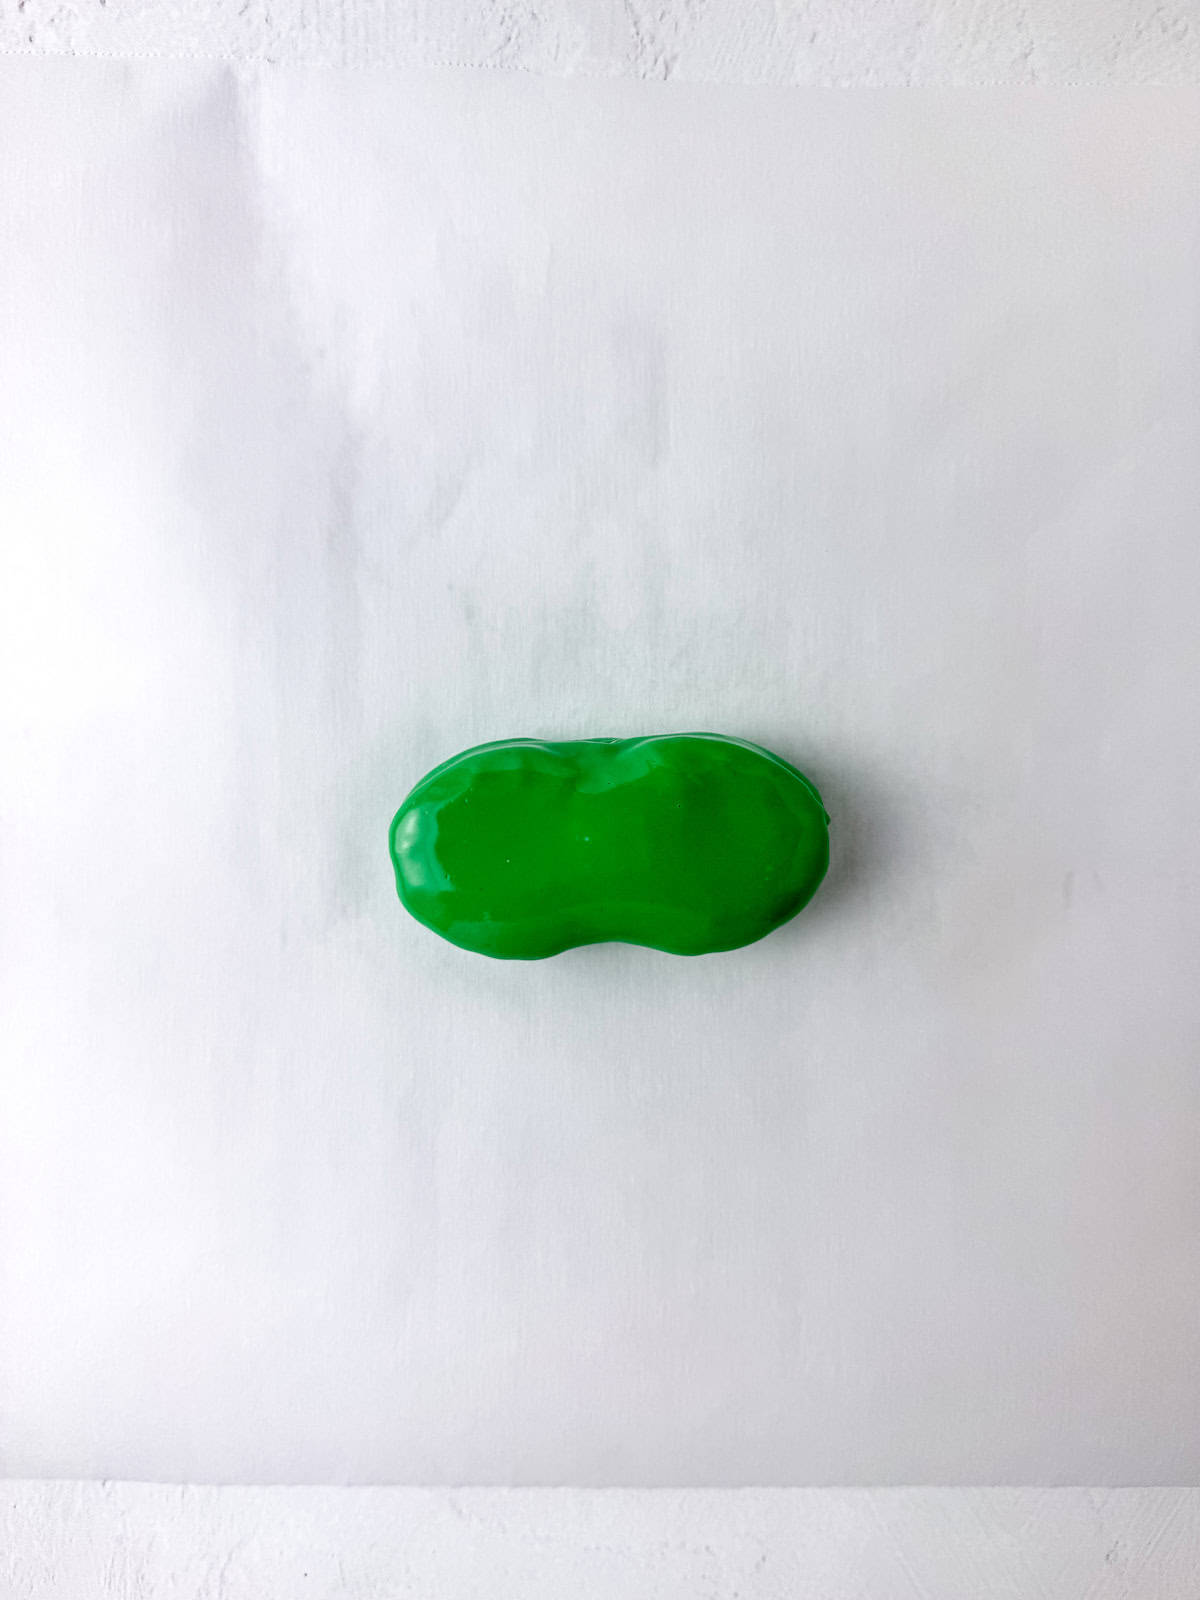
Use a fork or mini spatula to remove the candy-coated side from the chocolate and place it on a sheet of parchment paper.
Repeat these steps for each nutter butter and then place them in the freezer for 8 minutes to harden.
Lay the Grinch nutter butters horizontally.
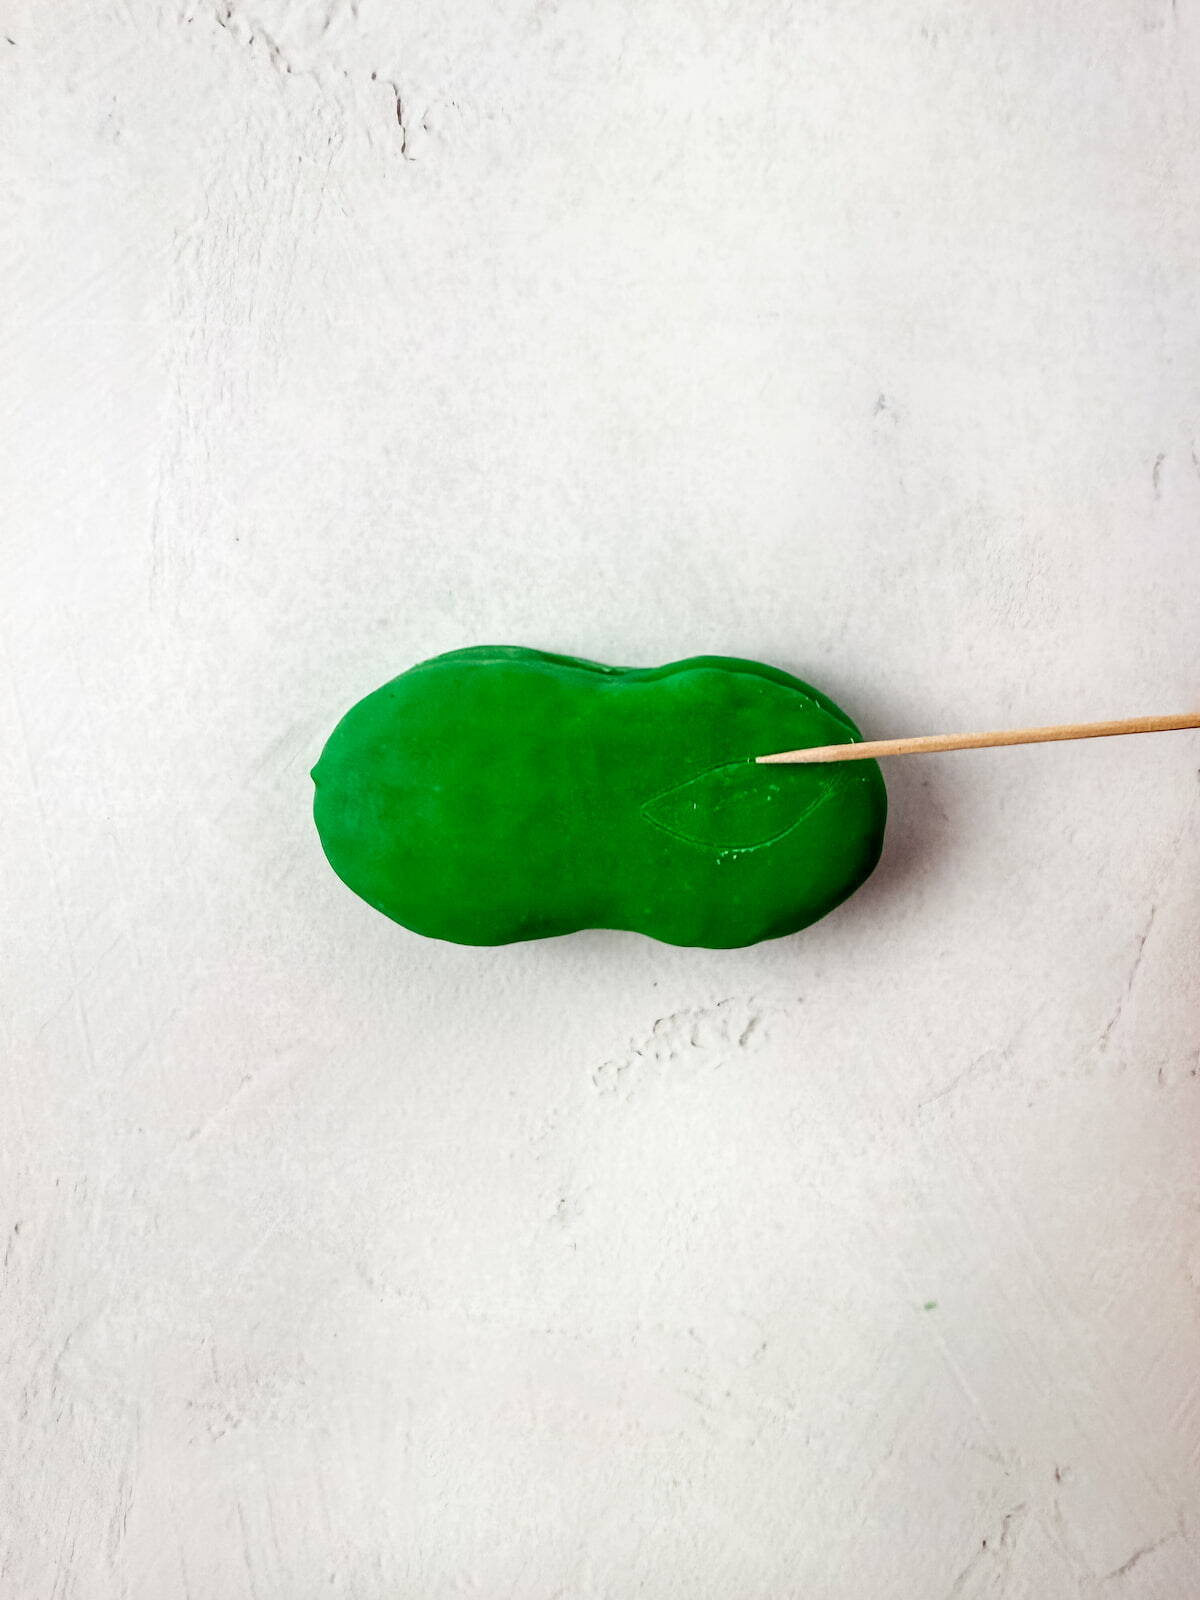
Use a toothpick to trace an oval at the side of a cookie.
Melt the black and yellow chocolate following the same steps as above.
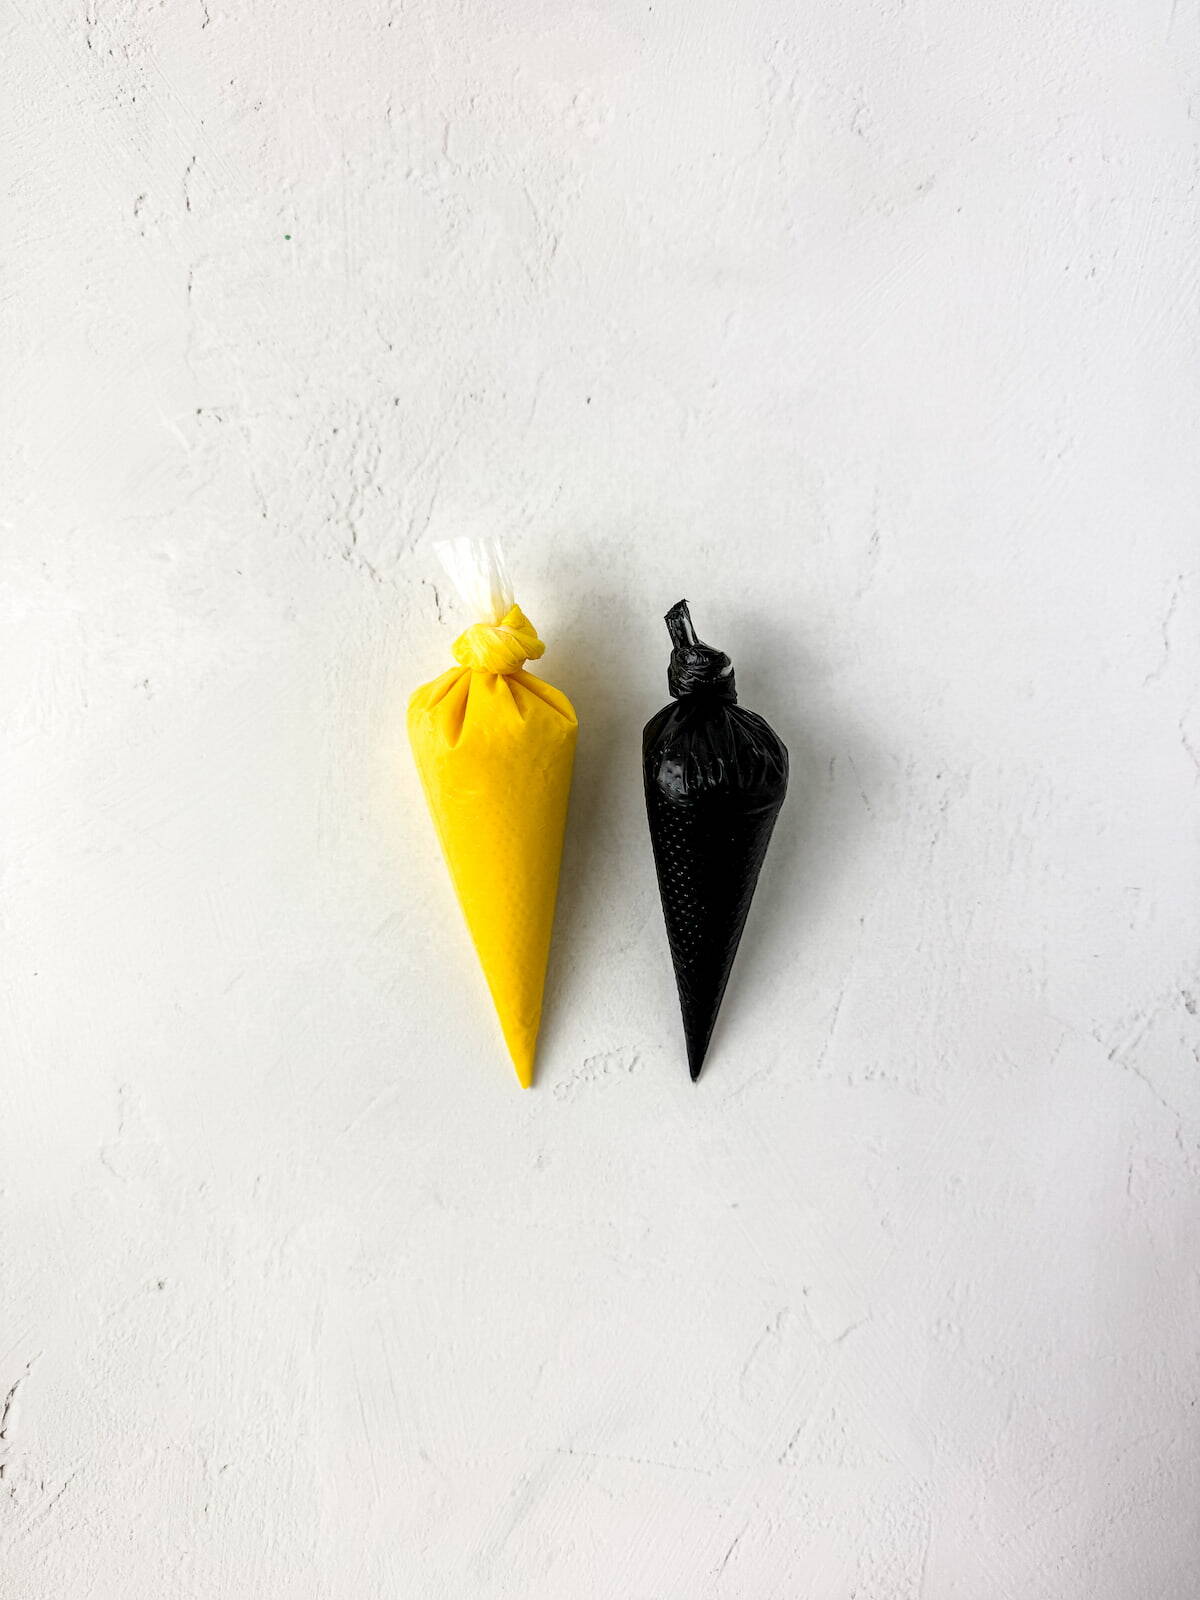
Put each color in a separate piping bag and cut a tiny hole in the tip.
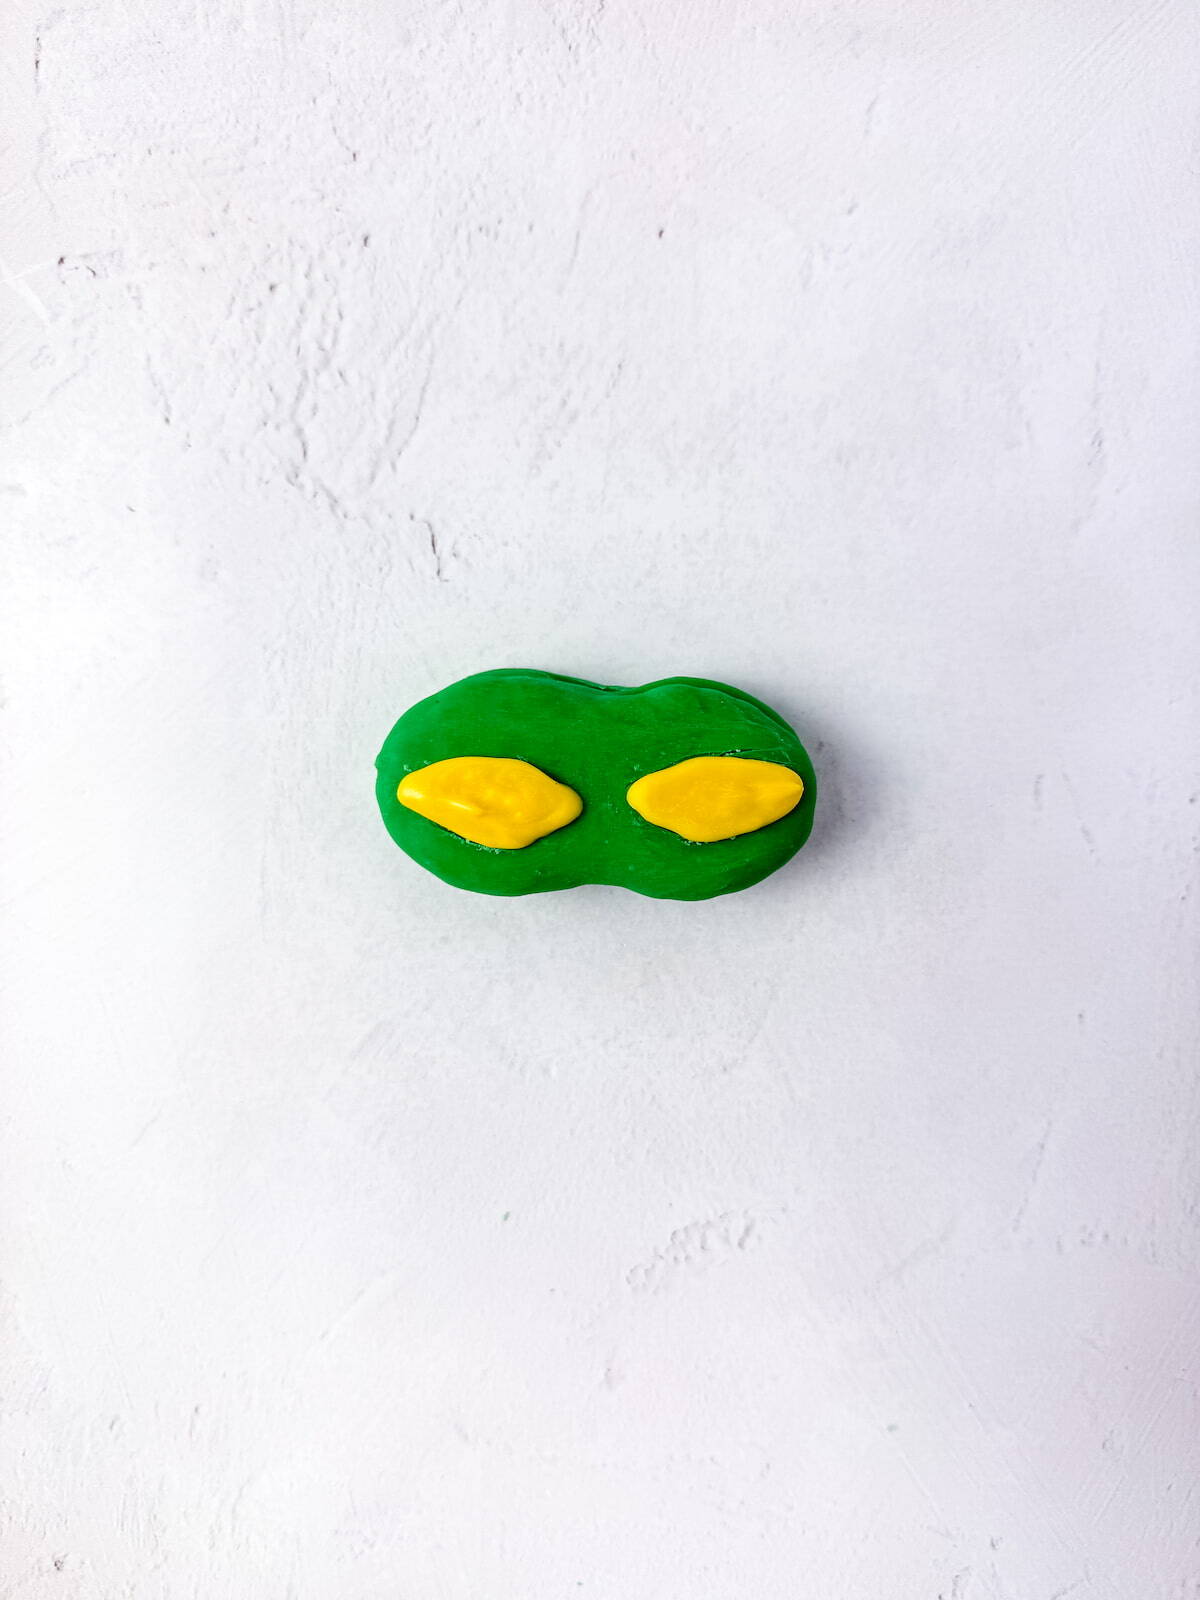
Pipe the yellow melted chocolate inside each oval shape and let it sit for 2–3 minutes to set.
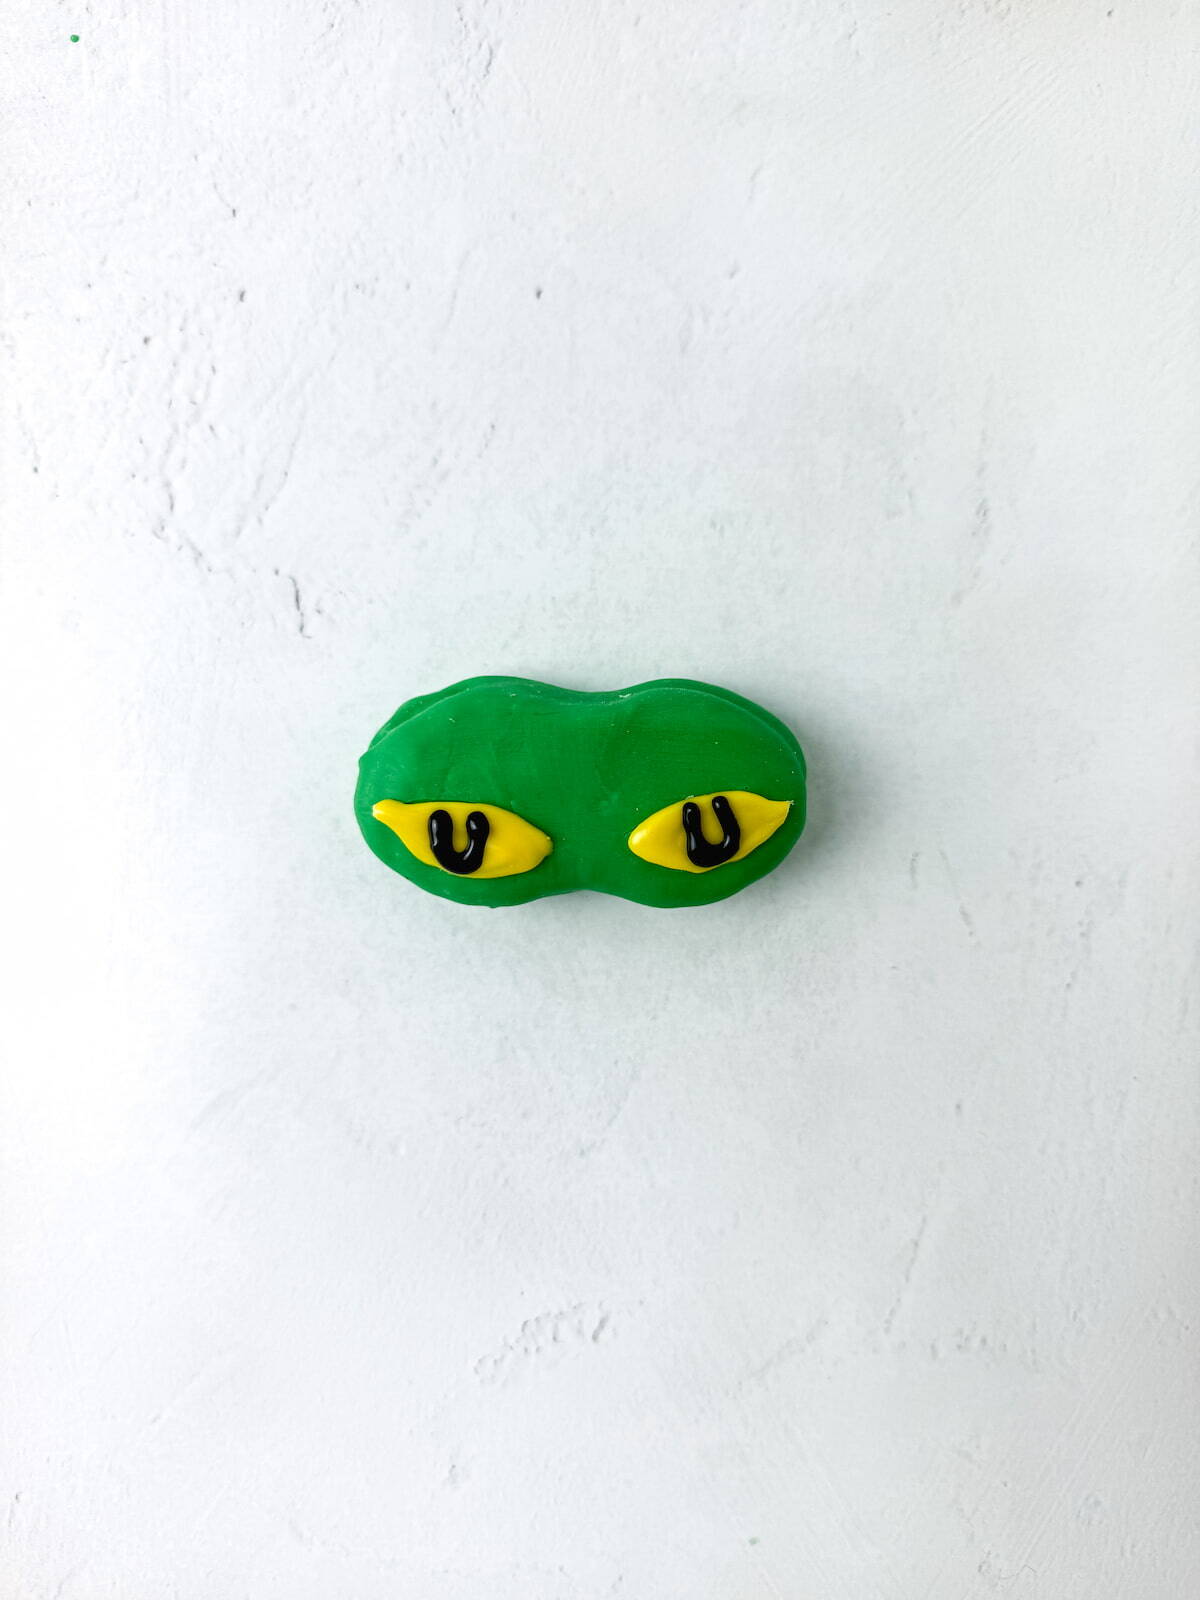
Next, pipe a small “U” shape in the middle of the yellow ovals.
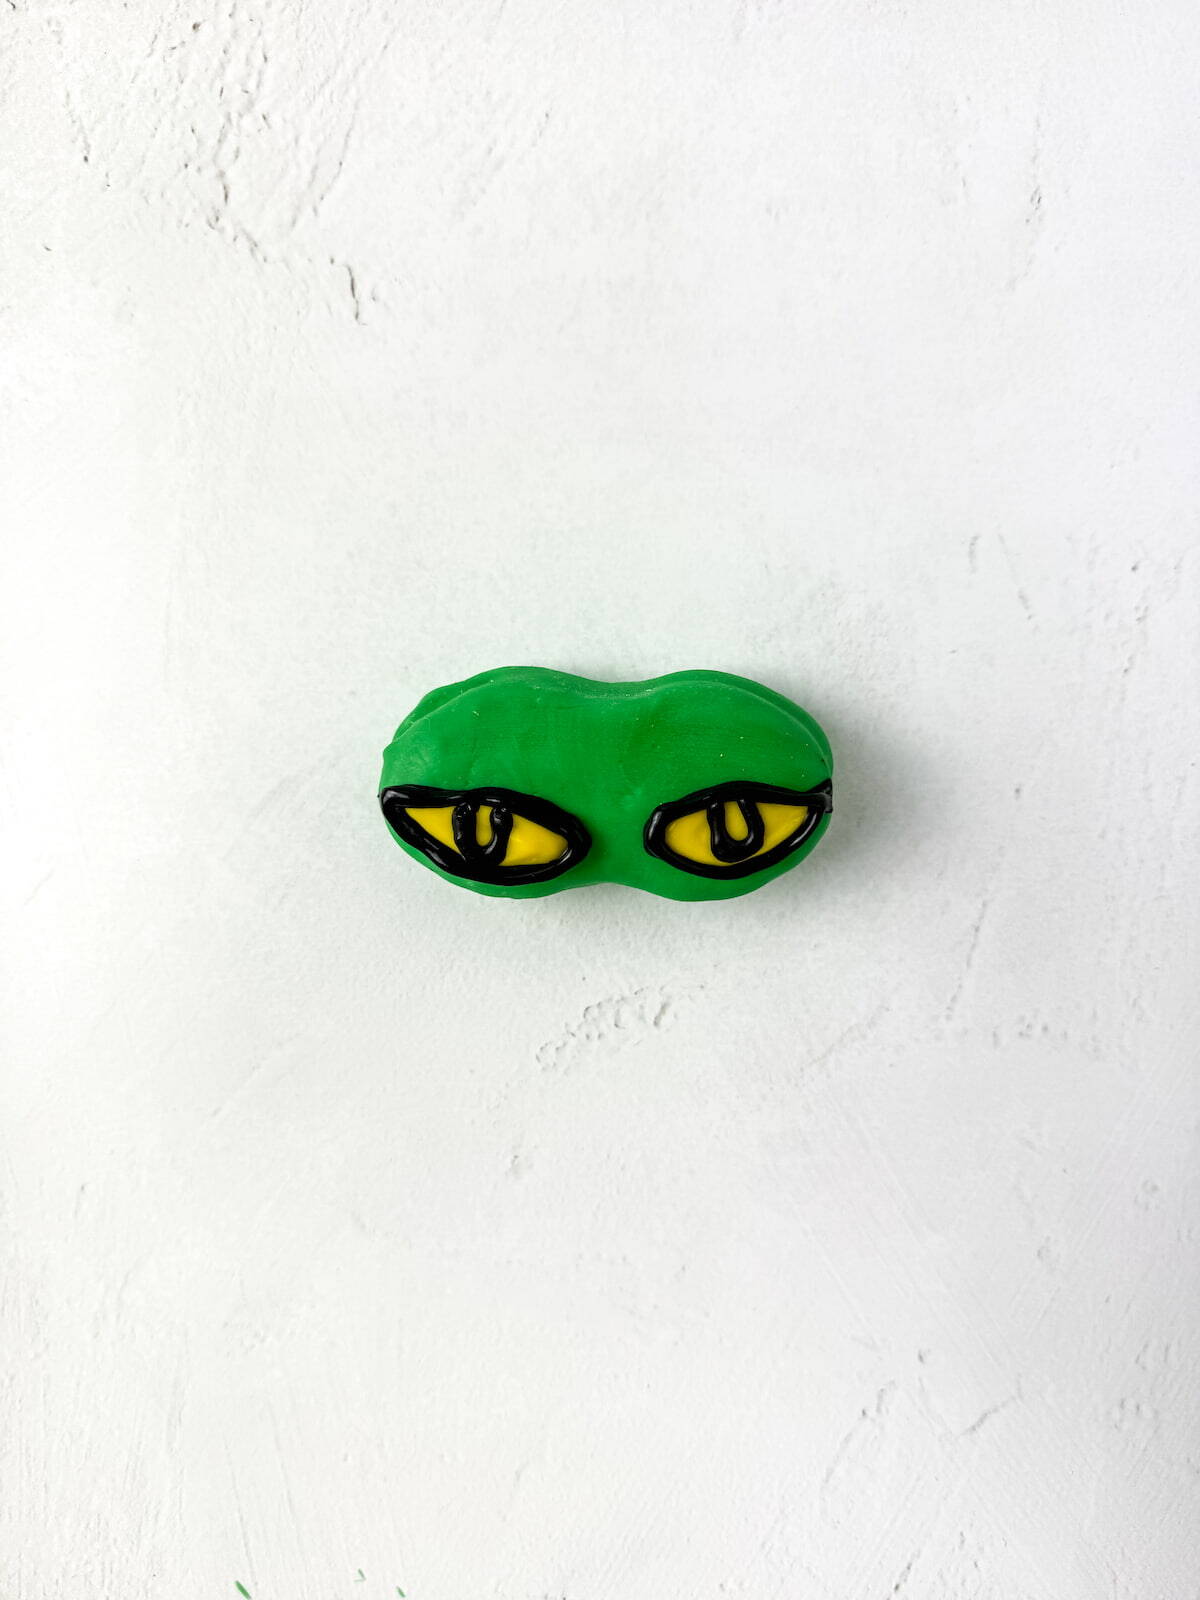
Immediately trace around the yellow ovals with black chocolate, and let it sit for 2–3 minutes to dry.
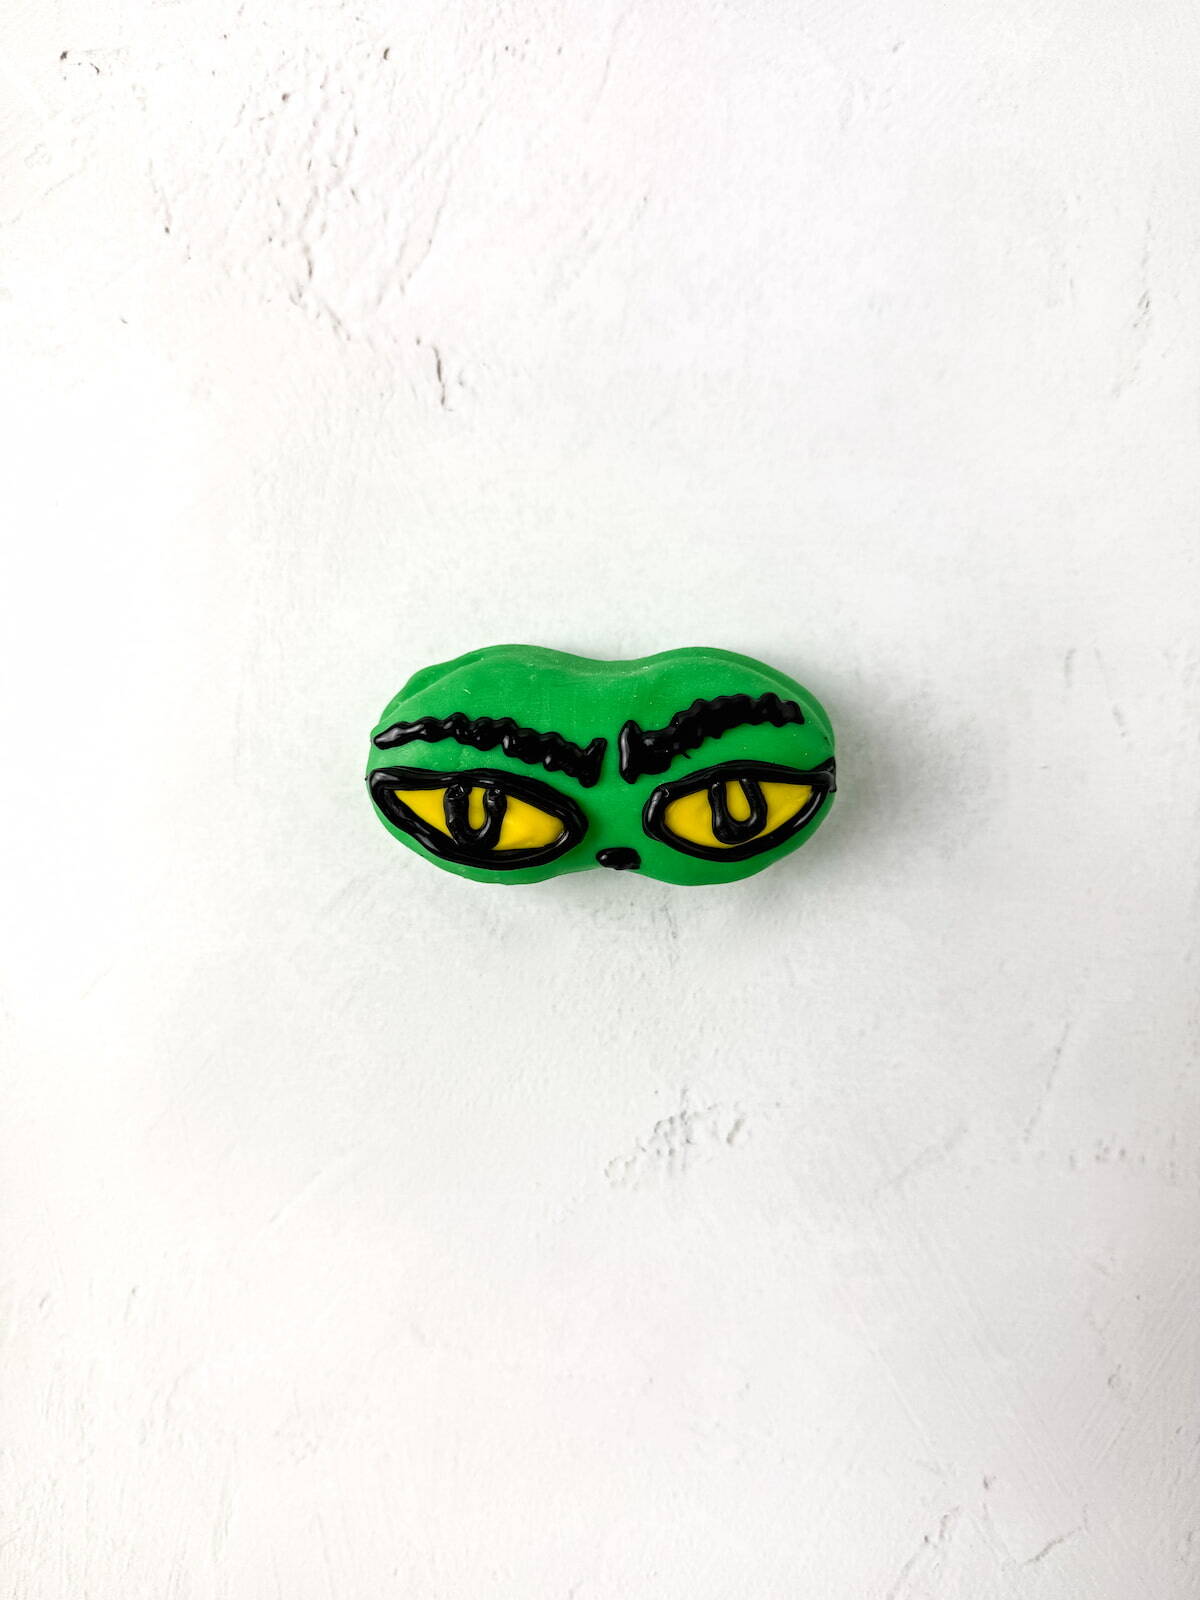
Using the melted black chocolate, pipe the Grinch’s fluffy eyebrows in wiggly curved lines.
Pipe a small circle below the eyes on each nutter butter to form the Grinch’s nose, then let the cookies sit for 3 minutes to set.
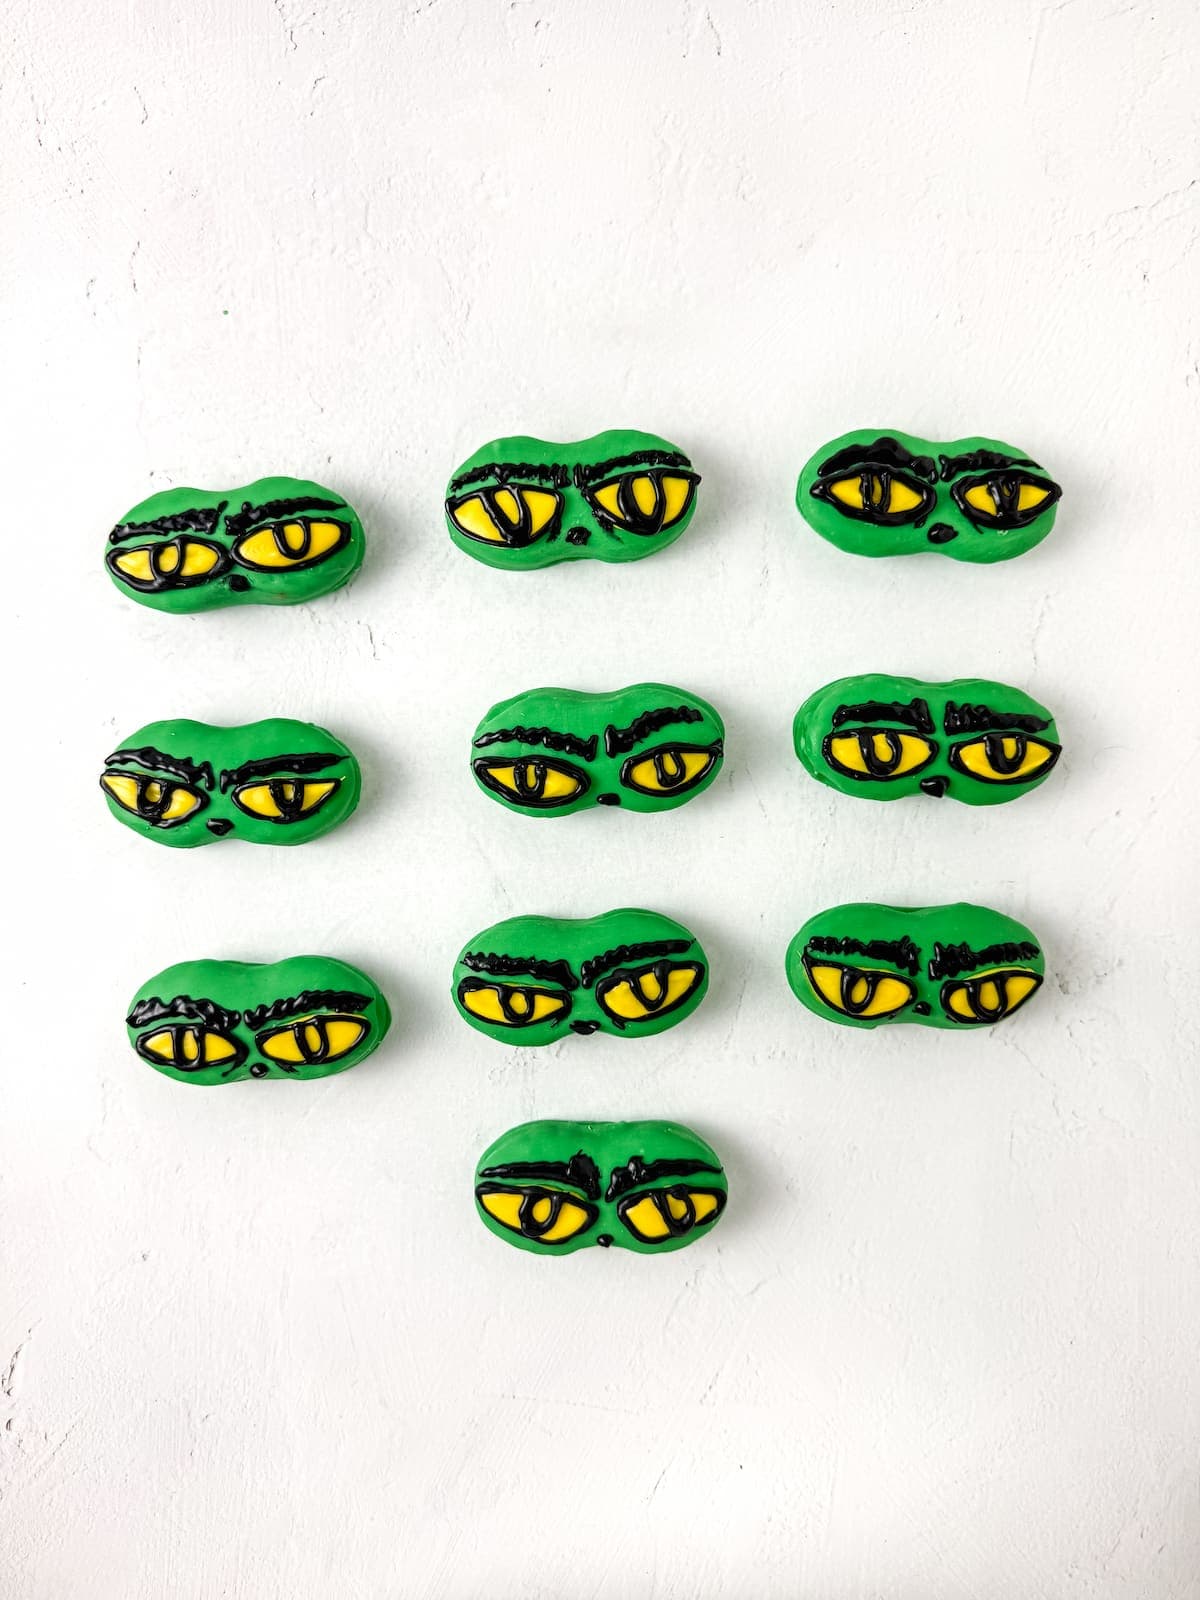
Serve and enjoy!
Tips for the Best Grinch Nutter Butter Cookies
- Extra Eye Detail: Use a toothpick to drag a little wet black chocolate under the eyes to create bags or expressions.
- Creative Touches: Add a touch of red chocolate in the eyes for a classic Grinch look, and vary the eyebrows to give each cookie a unique personality.
- Even Coating: Tap the fork gently after dipping each nutter butter to remove excess chocolate and prevent drips.
- Work Quickly: Pipe details immediately after melting for best results.
- Reheat Chocolate: If the chocolate is too hard to pipe, reheat for 15 seconds in the microwave.
- Cool Surface: Work on a chilled surface to help the chocolate set faster and reduce smudging.

Serving Ideas
- Holiday Dessert Table: These cookies are a show-stopping centerpiece for any Christmas spread.
- Party Favor: Package a few in a festive bag for friends, neighbors, or coworkers.
- Fun Activity with Kids: Let the kids decorate their own Grinch faces — a Grinch-themed treat and craft activity all in one!
Recipe Variations to Try
- Mini Grinch Cookies: Use smaller nutter butters or cut the cookies in half for bite-sized versions.
- Nut-Free Version: Swap nutter butters for a nut-free sandwich cookie for allergy-friendly treats.
- Extra Colorful: Add red, blue, or white chocolate accents to give each Grinch face a unique look.
Storage Tips
- Store: Keep in an airtight container in a cool, dry place for up to 5 days.
- Not for Freezing: Chocolate details may crack or lose their shape if frozen.
One Last Thing
If you’ve never made Grinch cookies before, this recipe is the perfect place to start. It’s quick, playful, and a fun way to add some holiday mischief to your dessert table.
Give it a try — these easy Grinch cookies might just become a yearly tradition!
Your Turn
More Christmas Treats to Try Next


Mischievous Grinch Nutter Butter Cookies: A Fun Holiday Treat
Equipment
- 2 Pipping bags
- Microwave Safe Bowls
- Parchment Paper
- Fork/ Mini Spatula
- Toothpicks
Ingredients
- 10 nutter butters
- 6 oz green chocolate melt
- 2 oz yellow chocolate melt
- 2 oz black chocolate melt
Instructions
- Place the green chocolate melts in a microwave-safe bowl. Melt the chocolate in 30-second intervals until it is completely liquified.6 oz green chocolate melt
- Dip one nutter butter at a time into the green melted chocolate, making sure they're completely covered.10 nutter butters
- Use a fork or mini spatula to remove the candy-coated side from the chocolate and place it on a sheet of parchment paper.
- Repeat these steps for each nutter butter and then place them in the freezer for 8 minutes to harden.
- Lay the Grinch nutter butters horizontally.
- Use a toothpick to trace an oval at the side of a cookie.
- Melt the black and yellow chocolate following the same steps as above.2 oz yellow chocolate melt, 2 oz black chocolate melt
- Put each color in a separate piping bag and cut a tiny hole on the tip.
- Pipe the yellow melted chocolate inside each oval shape and let it sit for 2–3 minutes to set.
- Next, pipe a small “U” shape in the middle of the yellow ovals.
- Immediately trace around the yellow ovals with black chocolate, and let it sit for 2–3 minutes to dry.
- Using the melted black choclate, pipe the Grinch's fluffy eyebrows in wiggly curved lines.
- Pipe a small circle below the eyes on each nutter butter to form the Grinch’s nose, then let the cookies sit for 3 minutes to set.
- Serve and enjoy!
Notes
- Extra Eye Detail: Use a toothpick to drag a little wet black chocolate under the eyes to create bags or expressions.
- Creative Touches: Add a touch of red chocolate in the eyes for a classic Grinch look, and vary the eyebrows to give each cookie a unique personality.
- Even Coating: Tap the fork gently after dipping each nutter butter to remove excess chocolate and prevent drips.
- Work Quickly: Pipe details immediately after melting for best results.
- Reheat Chocolate: If the chocolate is too hard to pipe, reheat for 15 seconds in the microwave.
- Cool Surface: Work on a chilled surface to help the chocolate set faster and reduce smudging.
Nutrition
Tamara Tsaturyan is the owner and writer of Thriving In Parenting, a website focused on providing simple tips for busy parents — easy and healthy recipes, home decor and organization ideas and all things P A R E N T I N G.

Share Your Thoughts!
I love to know your thoughts, make sure to comment below to start a discussion! You can also follow me on your favorite social network below.