Make a big batch of these refreshing cherry limeade popsicles to keep you (and the kids) cool all summer long! These frozen treats are the ultimate remedy to beat the summer heat and will satisfy your sweet tooth, too!

With the scorching heat of the sun, I always find myself thinking about what summer treats to prepare at home for my kids. Fortunately, we’re lucky enough to have a cherry tree in our backyard, and every summer, it yields an abundance of juicy and sweet cherries!
This practically inspired me to come up with this cherry popsicle recipe. It’s a great way for me to make use of our homegrown cherries while also making a delicious and healthy frozen treat that my whole family can enjoy.
That’s why I love making big batches of these cherry lime popsicles! They’re a perfect mix of sweet, fruity, and refreshing—ideal for our little ones who might otherwise reach for super sugary ice cream treats. And it’s not only that my kids enjoy it but me as well!
Why You’ll Love This Recipe

Ingredients Needed For Cherry Limeade Popsicles
- 4 fresh limes
- 6 tbsp granulated sugar
- 1 ½ cups water
- 2 cups fresh cherries, pitted

Step-by-Step Preparation With Pictures
Disclosure: This post contains affiliate links. If you click highlighted links or product pictures and make a purchase, I may receive a commission at no additional cost to you.
1. Wash and pit the cherries using a cherry pitter. If you don’t have a cherry pitter, a small knife will do the trick, but a pitter makes it much easier and quicker.

2. With a juicer or by hand, squeeze out the juice from each lime half until you have about ½ cup (120ml) of fresh lime juice.

3. Create a simple syrup by adding sugar to a cup of water. Stir until the sugar completely dissolves (for a healthier option, add 1 tbsp honey or maple syrup instead).

4. Toss the pitted cherries into a blender, and add your lime juice and the sugar syrup.

5. Blend until the mixture is smooth.

6. Pour the cherry limeade mixture into your ice pop molds.

7. Put the lid and insert the popsicle sticks into your molds.

8. Freeze the cherry limeade popsicles for at least 6 hours to ensure they are solid.
9. Once frozen, remove the popsicles from the mold. Gently apply pressure to the base while lifting them by the sticks. If you’re using metal or plastic molds, dip the tips in a little hot water for 10 seconds before removing them.

Enjoy!
Variation Ideas
This cherry limeade recipe is already delicious on its own, but don’t be afraid to tweak it to suit your taste or whatever you have on hand in your kitchen! Here are some variation ideas you can try.
- Sugarless Option: The best thing about this refreshing popsicle recipe is that you can make it completely sugarless! Simply add sweet puree of fruits like mango or strawberry instead of the granulated sugar. You may also use natural sweeteners like honey, or maple syrup. Adjust the quantity to taste, as these can be sweeter than regular sugar. It’s a healthier alternative that still provides a deliciously sweet treat.
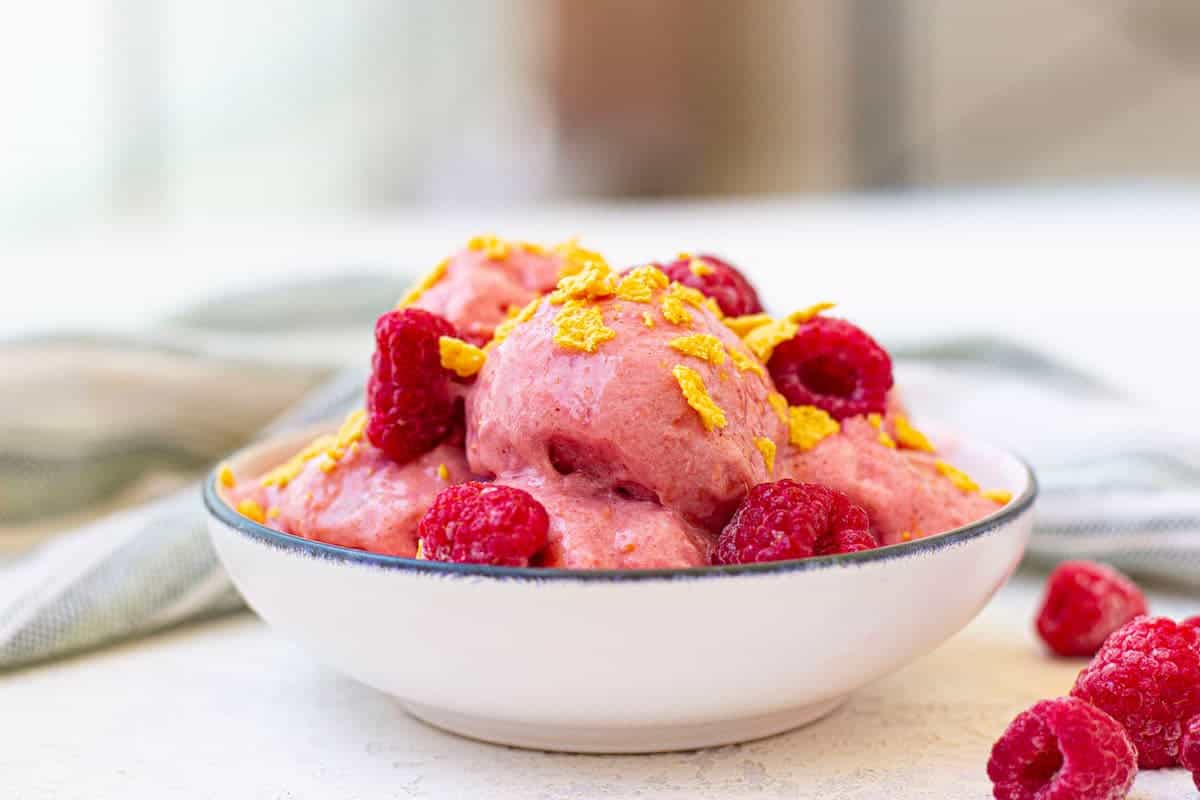
- Fruit Twists: Swap out some of the cherries for other berries or fruits for a different flavor profile. Strawberries or raspberries make great companions for lime and it adds extra fruity goodness to the treat.
- Coconut Water Popsicle Base: For a refreshing twist, substitute some of the water with coconut water as the base of your fruit popsicles. It won’t overpower the taste but will add a subtle tropical flavor to the popsicles.
- Adults Only: Mix in a little splash of your favorite spirit, like vodka or tequila, to create a grown-up version of this childhood favorite.
- Lime Zest: If you love a pronounced lime flavor that cuts through the sweet cherry base, add some lime zest to the mixture.
- Minty Fresh: Add some fresh mint leaves to the blender along with the other ingredients for a minty cherry limeade flavor. It’s a nice change that adds a hint of coolness.

Serving Suggestions
Who says popsicles have to be just popsicles? Get creative with how you enjoy your cherry limeade popsicles with these fun serving suggestions!
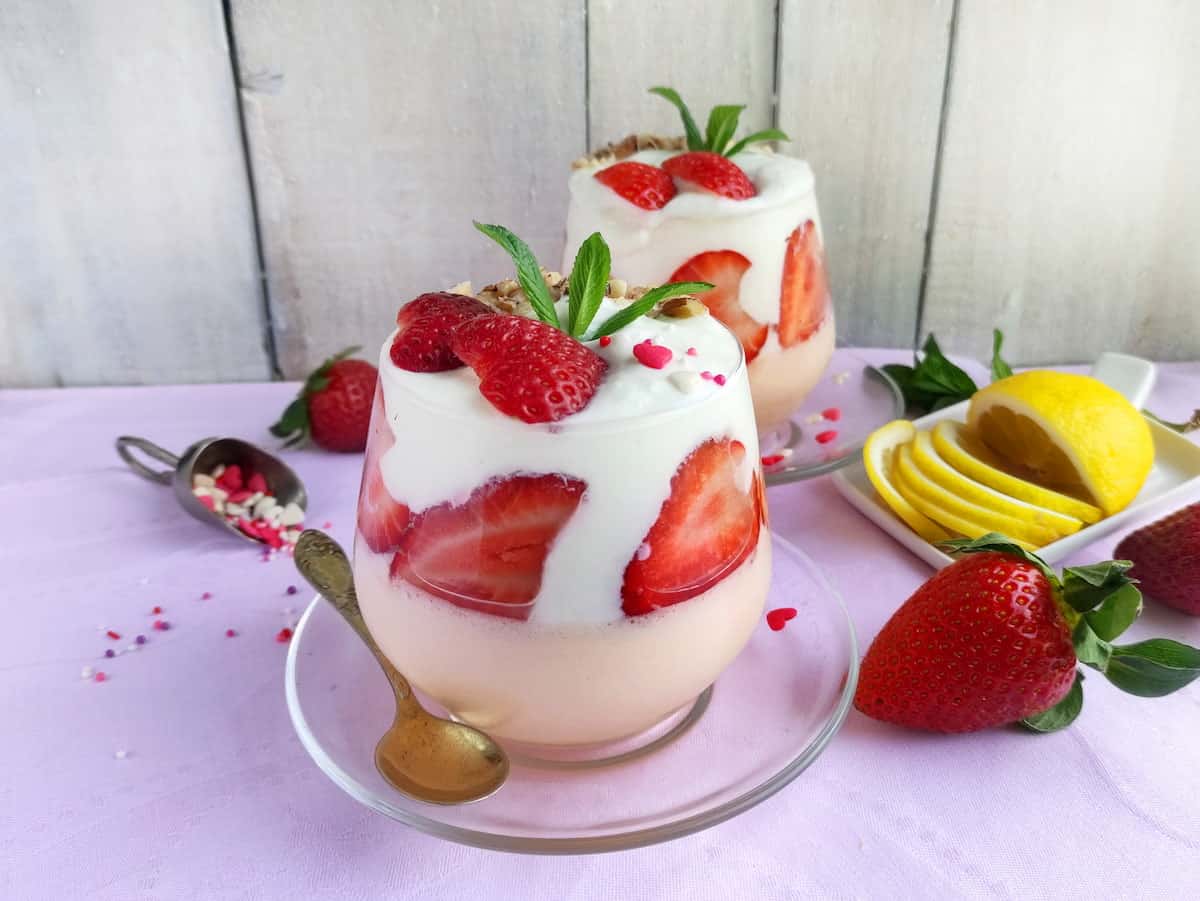
- Alongside Fresh Fruit: Create a refreshing summer dessert spread by pairing the cherry limeade popsicles with a bowl of freshly sliced seasonal fruits. Sliced strawberries, juicy watermelon chunks, and tangy pineapple wedges make excellent accompaniments that enhance the summer vibe!
- As a Party Treat: Put your popsicles in paper cups individually and arrange them on a platter with a variety of other frozen treats for guests to enjoy, or set up a DIY popsicle station with different toppings and sauces for a fun and interactive experience. For a chocolatey twist, dip the popsicles in melted dark chocolate and sprinkle crushed pistachios on top before serving!
- In a Homemade Float: Turn your cherry limeade popsicles into a fun and fizzy float by placing a popsicle in a tall glass and pouring over some sparkling water or lemon-lime soda. The popsicle will slowly melt, infusing the drink with its fruity flavors and creating a deliciously bubbly beverage that’s perfect for sipping on a hot day!

Tips for Success
Whether you’re already a pro at making popsicles or trying your hand at homemade frozen treats for the first time, these tips will ensure your cherry limeade popsicles turn out perfectly every time.
- Patience is Key: Be patient! Let your popsicles stay in the freezer for at least 6 hours to ensure they are fully frozen and ready to enjoy. Trying to unmold them too soon can lead to broken sticks and half-formed popsicles.
- Strain: If you want a smoother texture without any bits of cherry skin, strain the mixture through a fine mesh sieve before pouring it into the popsicle molds.
- Check the Sweetness: Taste the limeade mixture before freezing and adjust the sweetness if necessary. Remember, the frozen version will taste less sweet than the liquid form.
- Mold Choice: Silicone popsicle molds work best for easy removal, but if you’re using plastic or metal, running them under warm water helps them pop out more easily.

Storage
Enjoy the limeade cherry popsicles within a month, as they can start to develop ice crystals and lose flavor if kept too long.
One Last Thing
When it comes to offering treats to our little ones, it’s always best to opt for homemade versions like this cherry popsicle recipe. It not only gives you control over what you’re eating but also provides a fun activity to do with the kids, especially during the summer season.
Without the additives and artificial colors found in many store-bought popsicles, homemade version is undoubtedly the better choice. Plus, it’s the perfect way to use up your homegrown fruits, whether it’s cherries or other berries.
So, if your fruit tree is already yielding an abundance of fresh fruit, consider making up a batch of refreshing and delicious frozen treats to enjoy with your loved ones!
Your Turn
If you make these refreshing cherry limeade popsicles, please take a moment to let me know how you liked them by leaving a rating and a comment below on the recipe card.
Top Recipes To Try Next


Homemade Cherry Limeade Popsicles For Hot Summer Days
Equipment
Ingredients
- 4 fresh limes
- 6 tbsp granulated sugar
- 1 ½ cups water
- 2 cups fresh cherries pitted
Instructions
- Wash and pit the cherries using a cherry pitter. If you don’t have a cherry pitter, a small knife will do the trick, but a pitter makes it much easier and quicker.2 cups fresh cherries
- With a juicer or by hand, squeeze out the juice from each lime half until you have about ½ cup (120ml) of fresh lime juice.4 fresh limes
- Create a simple syrup by adding sugar to a cup of water. Stir until the sugar completely dissolves.
- Toss the pitted cherries into a blender, and add the lime juice and the sugar syrup.1 ½ cups water, 6 tbsp granulated sugar
- Blend until the mixture is smooth.
- Pour the cherry limeade mixture into the ice pop molds.2 cups fresh cherries
- Put the lid and insert the popsicle sticks into the molds.
- Freeze the cherry limeade popsicles for at least 6 hours to ensure they are solid.
- Once frozen, remove the popsicles from the mold. Gently apply pressure to the base while lifting them by the sticks. If you’re using metal or plastic molds, dip the tips in a little hot water for 10 seconds before removing them. Enjoy!
Notes
Nutrition
Tamara Tsaturyan is the owner and writer of Thriving In Parenting, a website focused on providing simple tips for busy parents — easy and healthy recipes, home decor and organization ideas and all things P A R E N T I N G.

Share Your Thoughts!
I love to know your thoughts, make sure to comment below to start a discussion! You can also follow me on your favorite social network below.