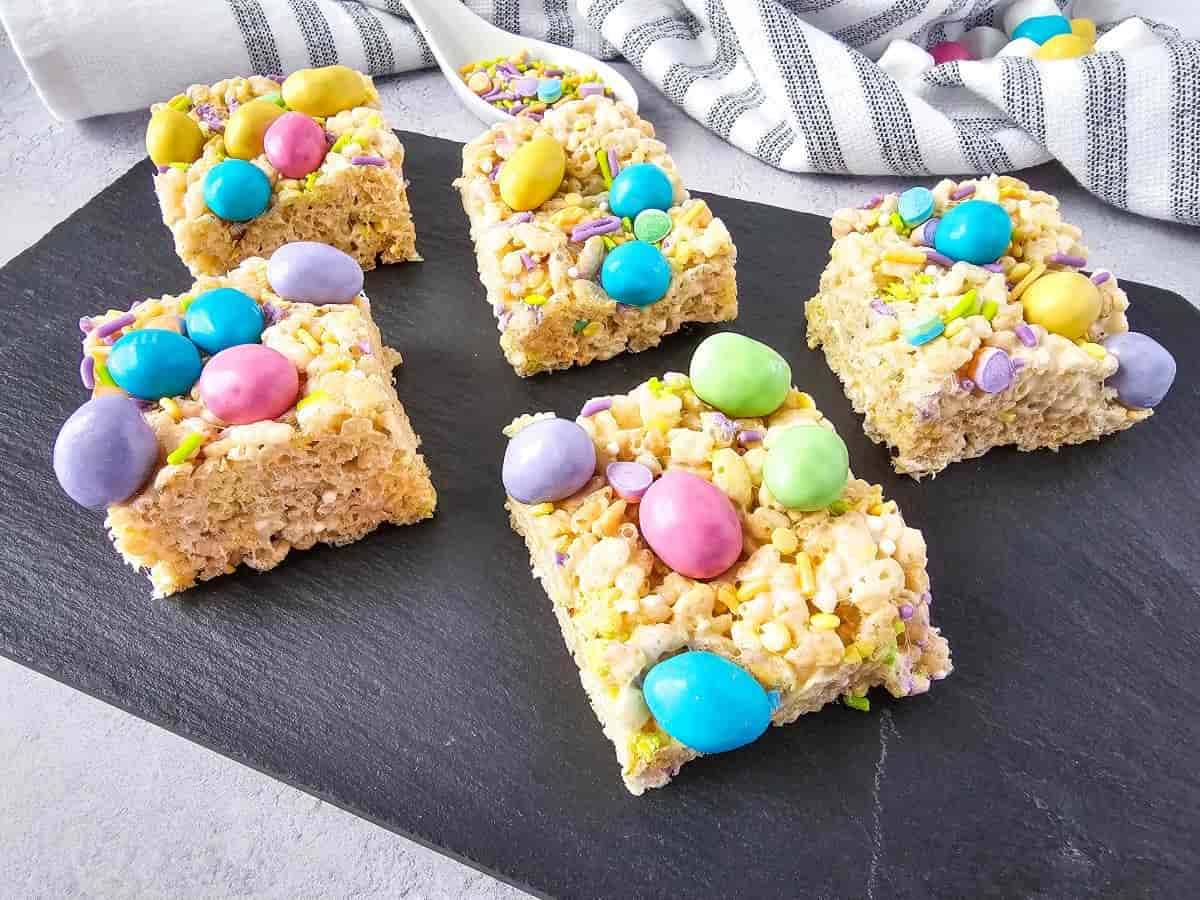
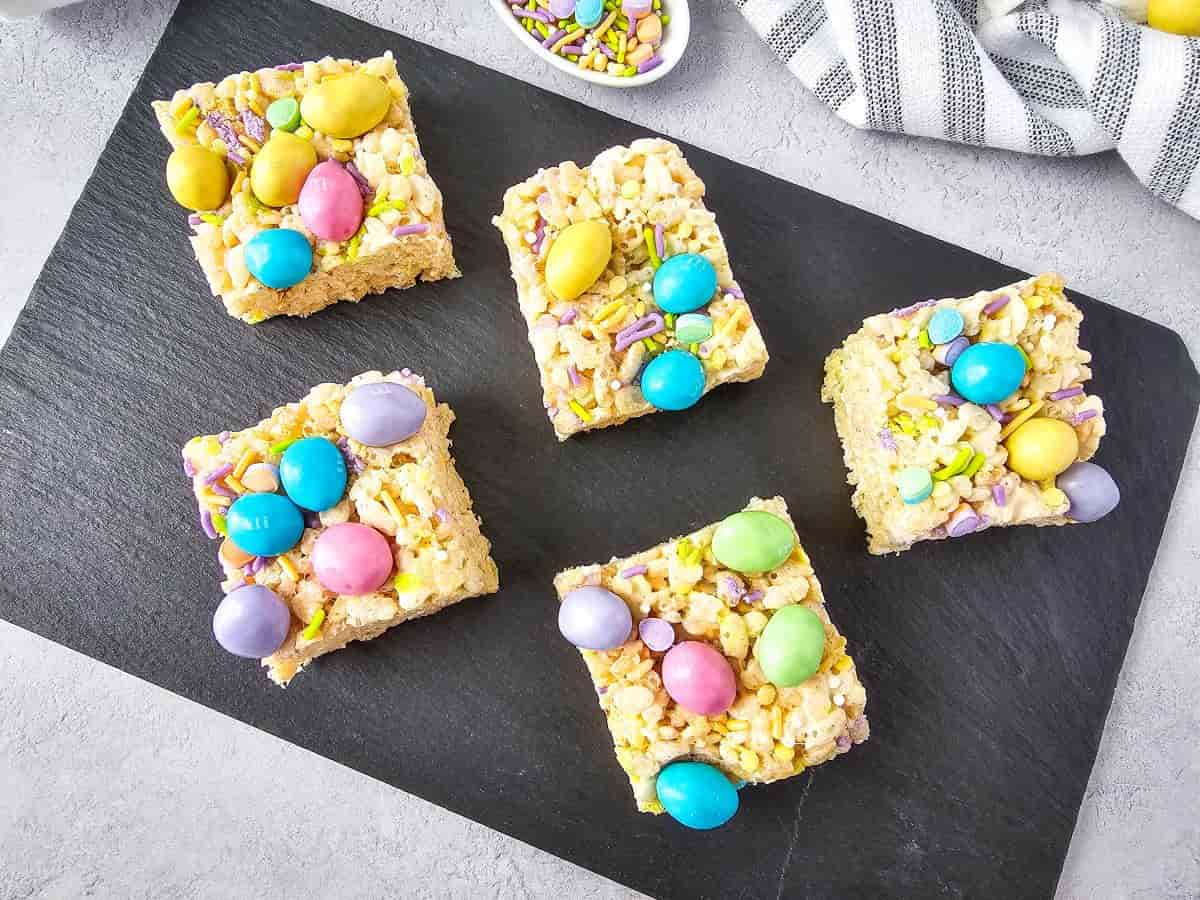
Spring has sprung and Easter is on its way! Celebrate with these adorable M&M rice krispie treats that are bursting with pastel colors. They’re the perfect sweet bites to share with friends and family. Plus, they’re so easy to make, even the little bunnies can help!
Easter is around the corner, and you know what that means – time to celebrate the arrival of spring, go on an exciting outdoor Easter scavenger hunt, and have family gatherings.
But most importantly, it’s time to start thinking about fun and easy Easter treats that make the holiday extra special! These festive M&M rice krispies are the perfect bite-sized goodies for your Easter dessert menu!
There’s just something so comforting and satisfying about biting into homemade rice krispie treats. It’s like a little taste of childhood, and no matter how many crispy treats you’ve enjoyed over the years, you never seem to tire of that unbeatable combination of crispy cereal and gooey marshmallows.
But here’s the best part – we’re taking those classic treats and giving them a fun Easter twist that will bring a touch of springtime vibes to your dessert table! With the addition of the peanut M&Ms, these treats are the perfect combination of fun and flavor!

Why You’ll Love This Recipe
Disclosure: This post contains affiliate links. If you click highlighted links or product pictures and make a purchase, I may receive a commission at no additional cost to you.
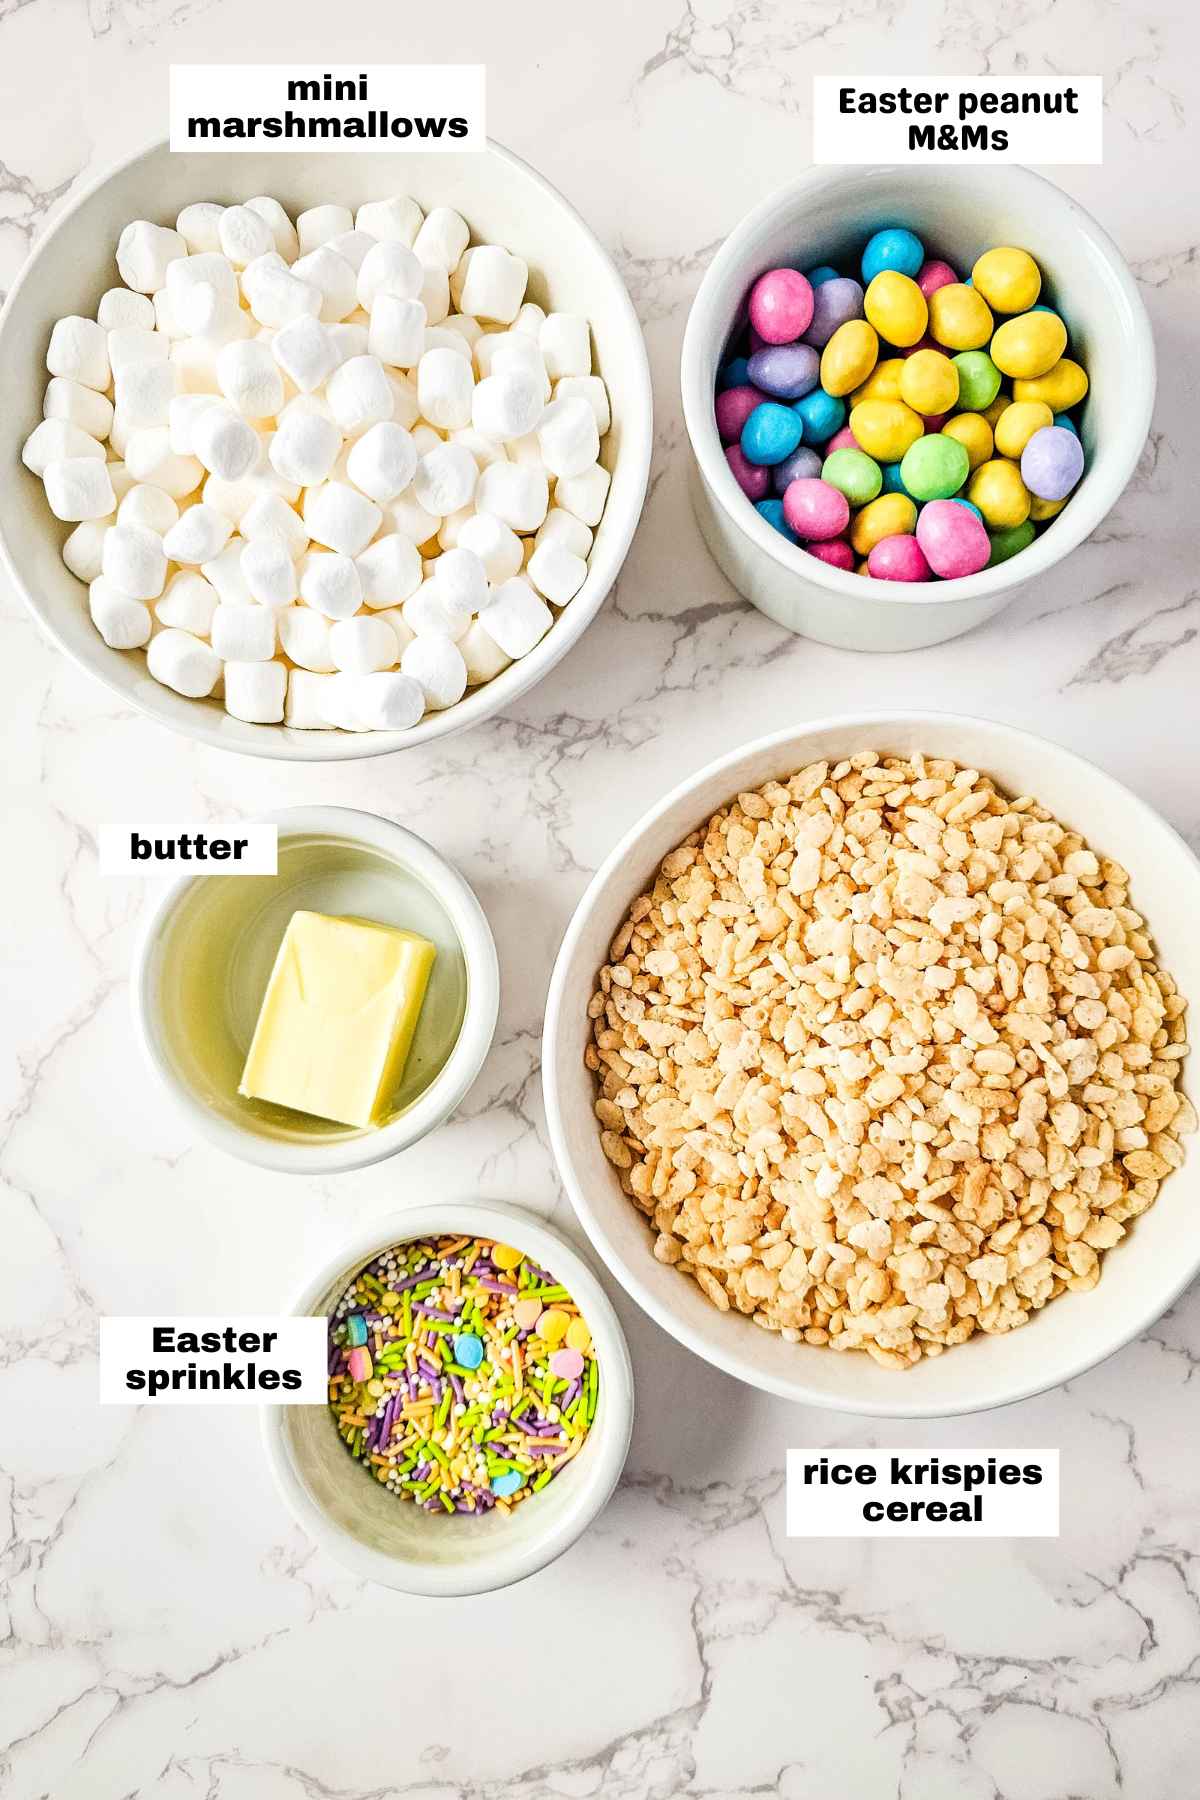
Ingredients Needed For M&M Rice Krispie Treats
- 6 cups Rice Krispies cereal
- 3 tbsp butter, unsalted
- 3 cups mini marshmallows
- 1 cup Easter peanut M&Ms
- Easter sprinkles
Step-by-Step Preparation With Pictures
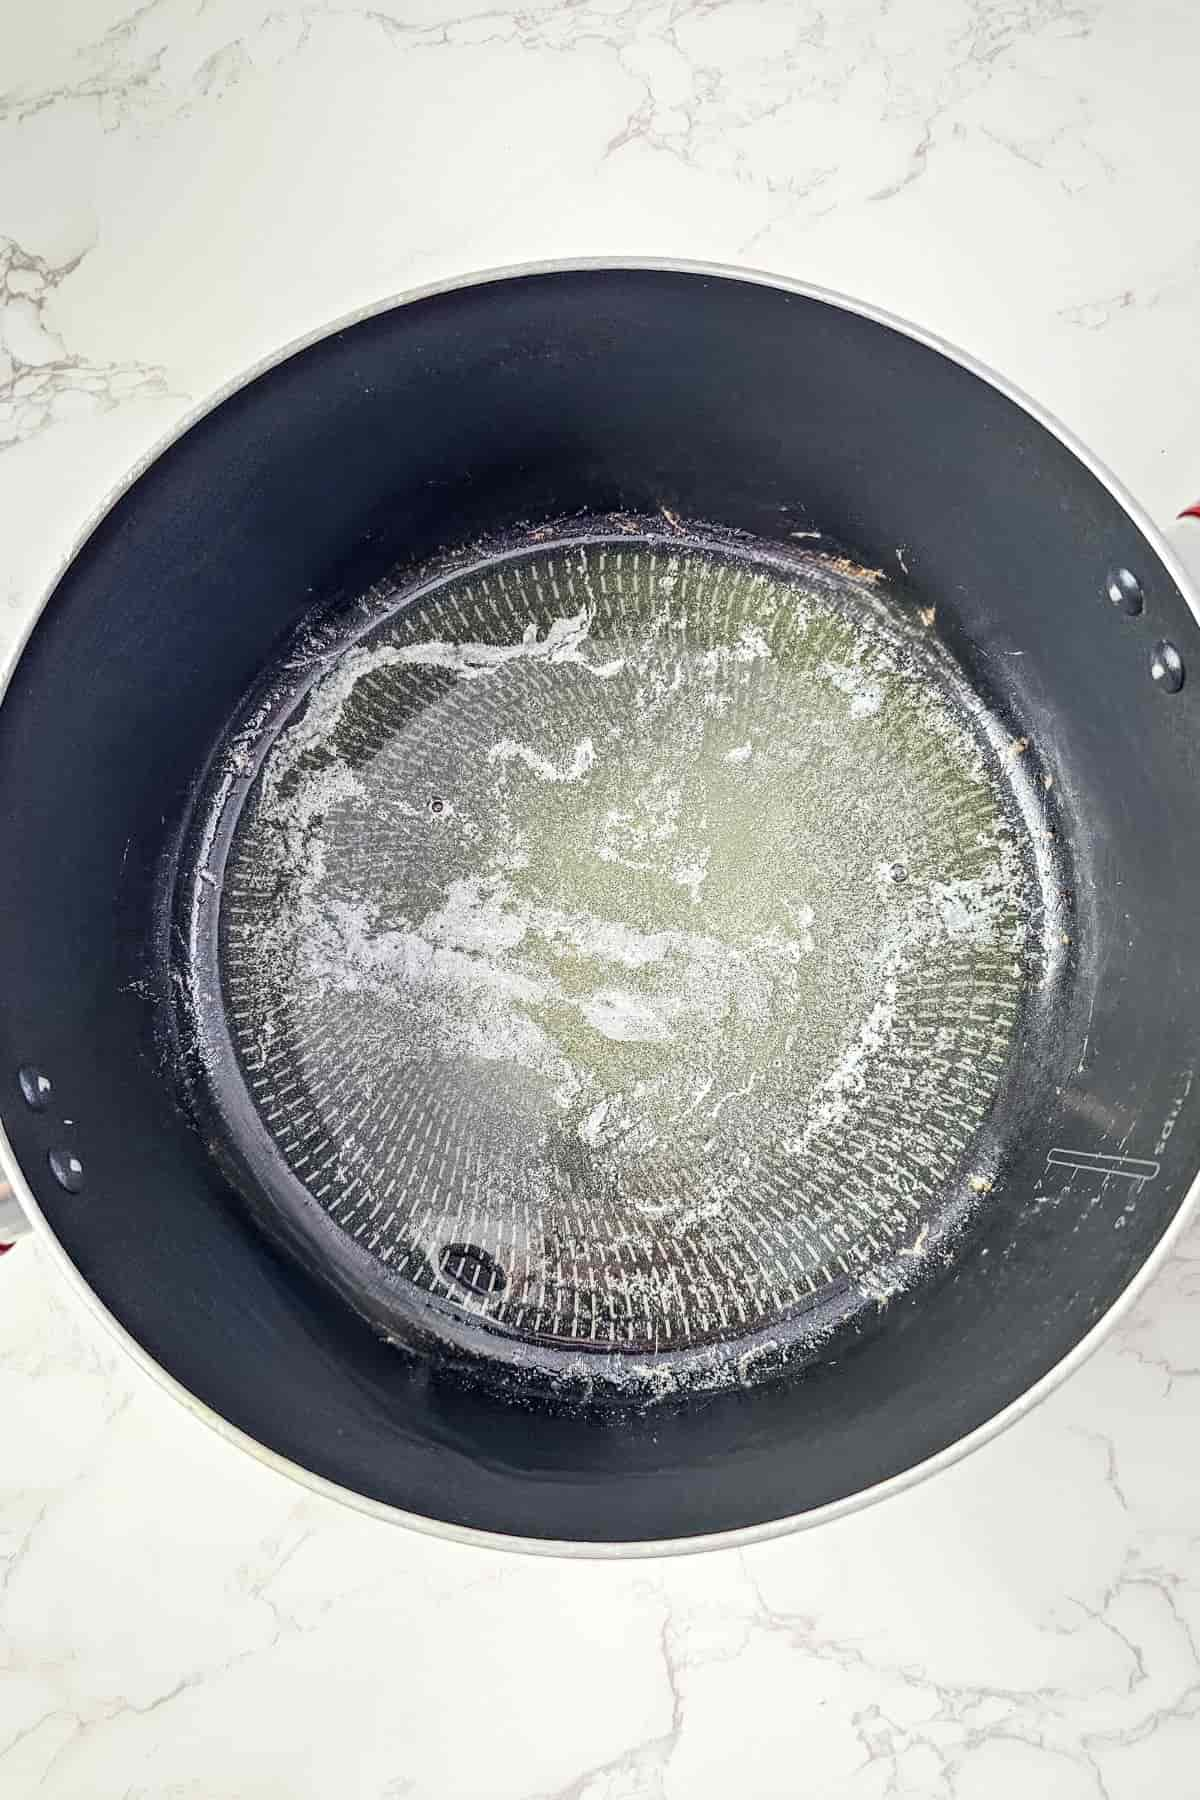
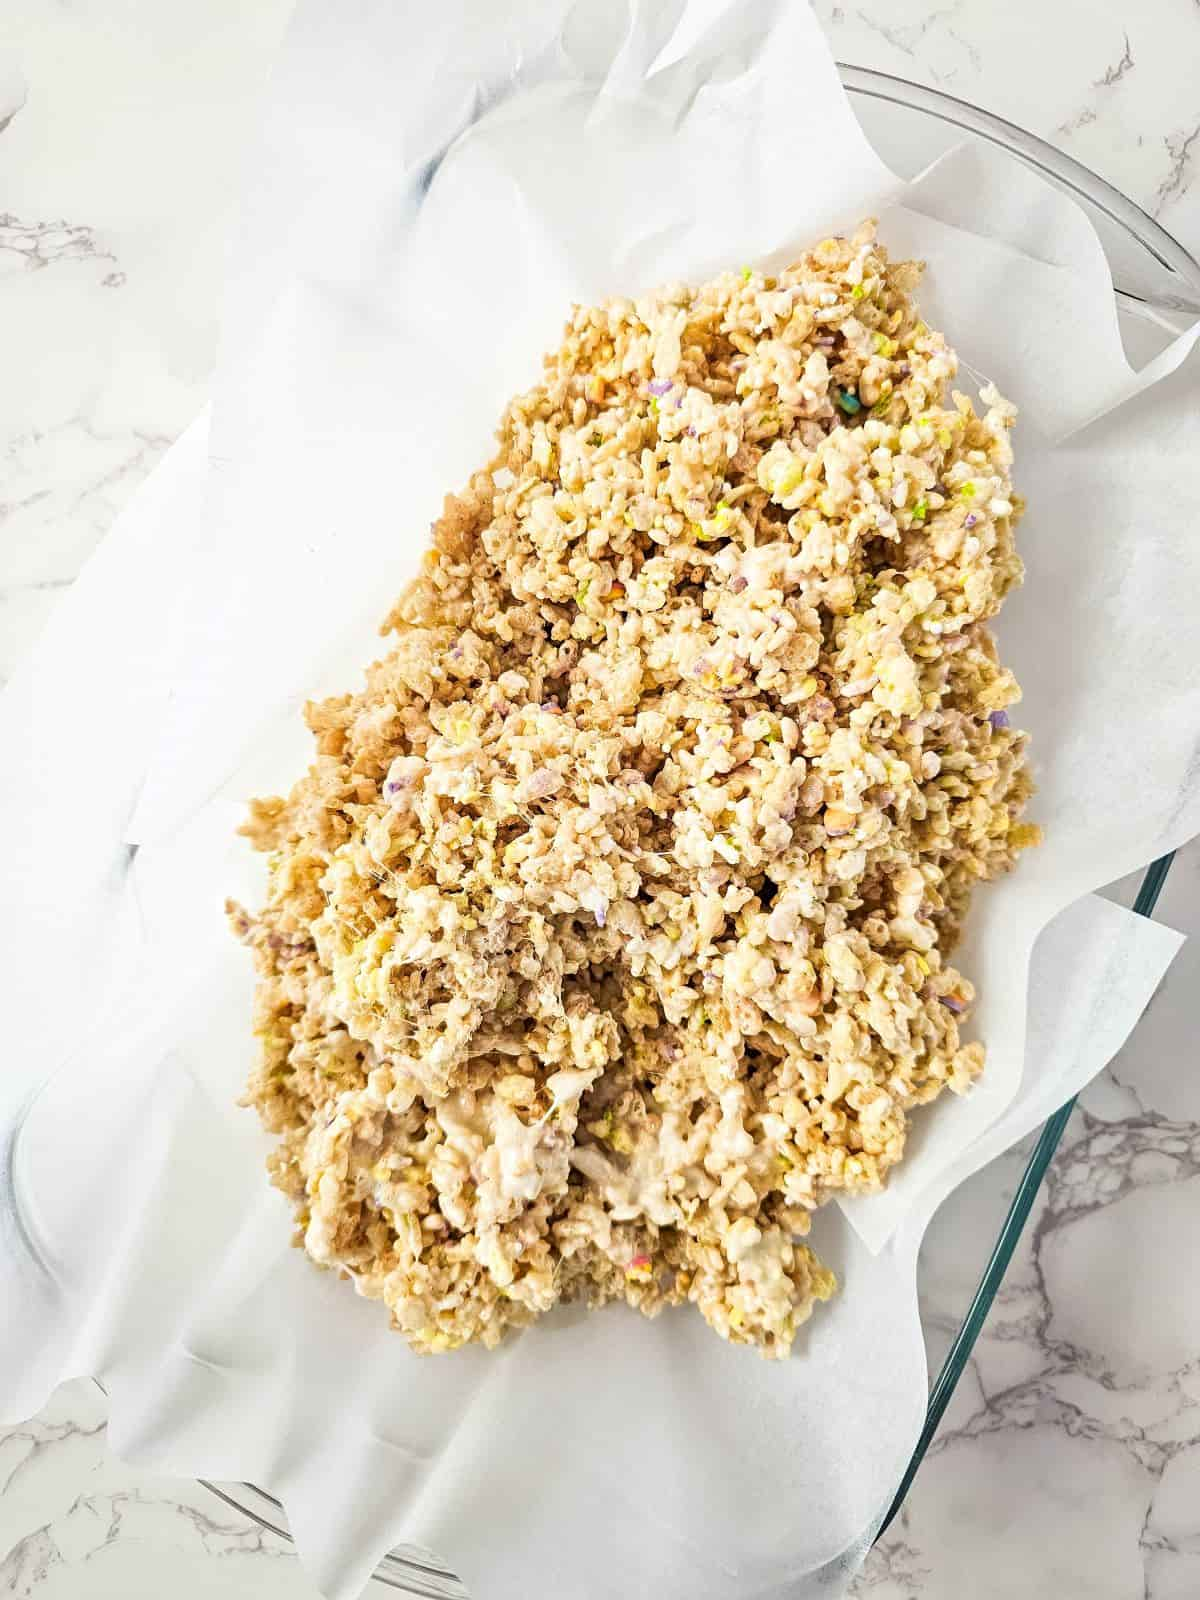
1. Line a 9×13 inch baking dish with wax paper or parchment paper for easy cleanup, or grease with non-stick cooking spray to prevent sticking. Set aside.
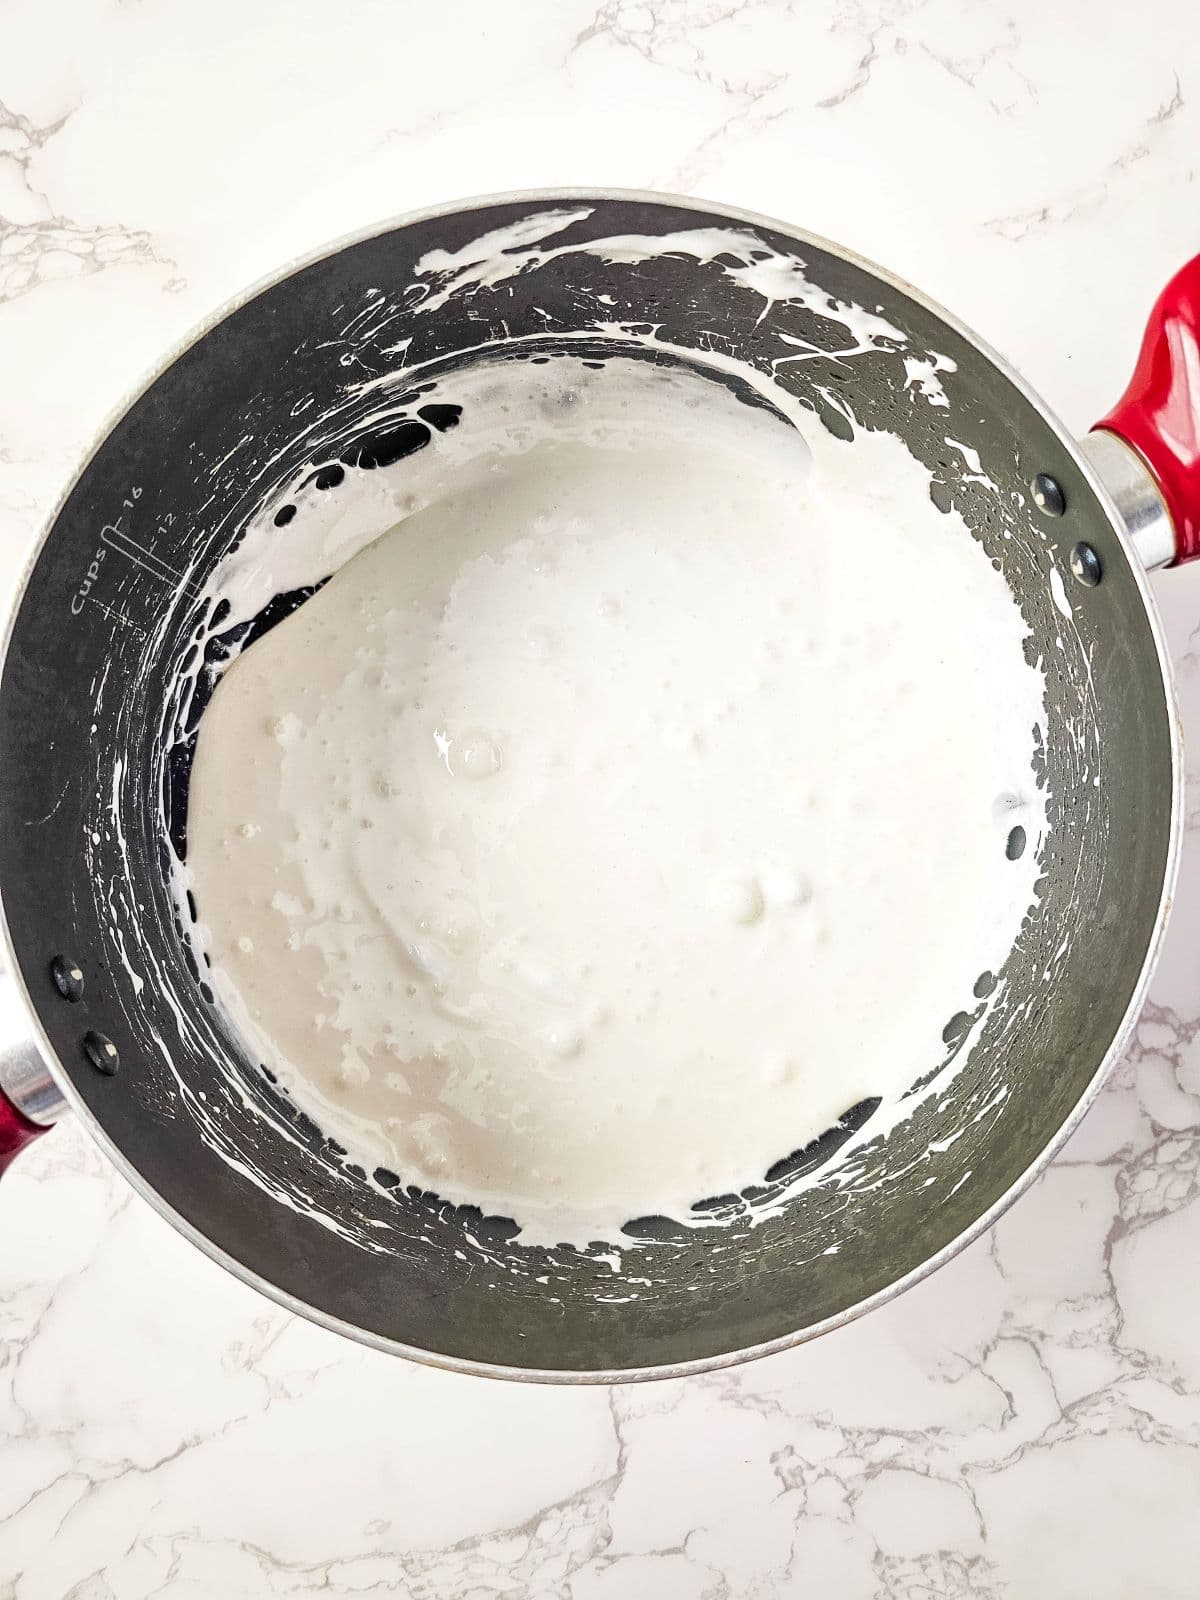
2. In a large pot or medium saucepan, melt the butter over medium-low heat.
3. Once the butter is melted, add the 3 cups of mini marshmallows.
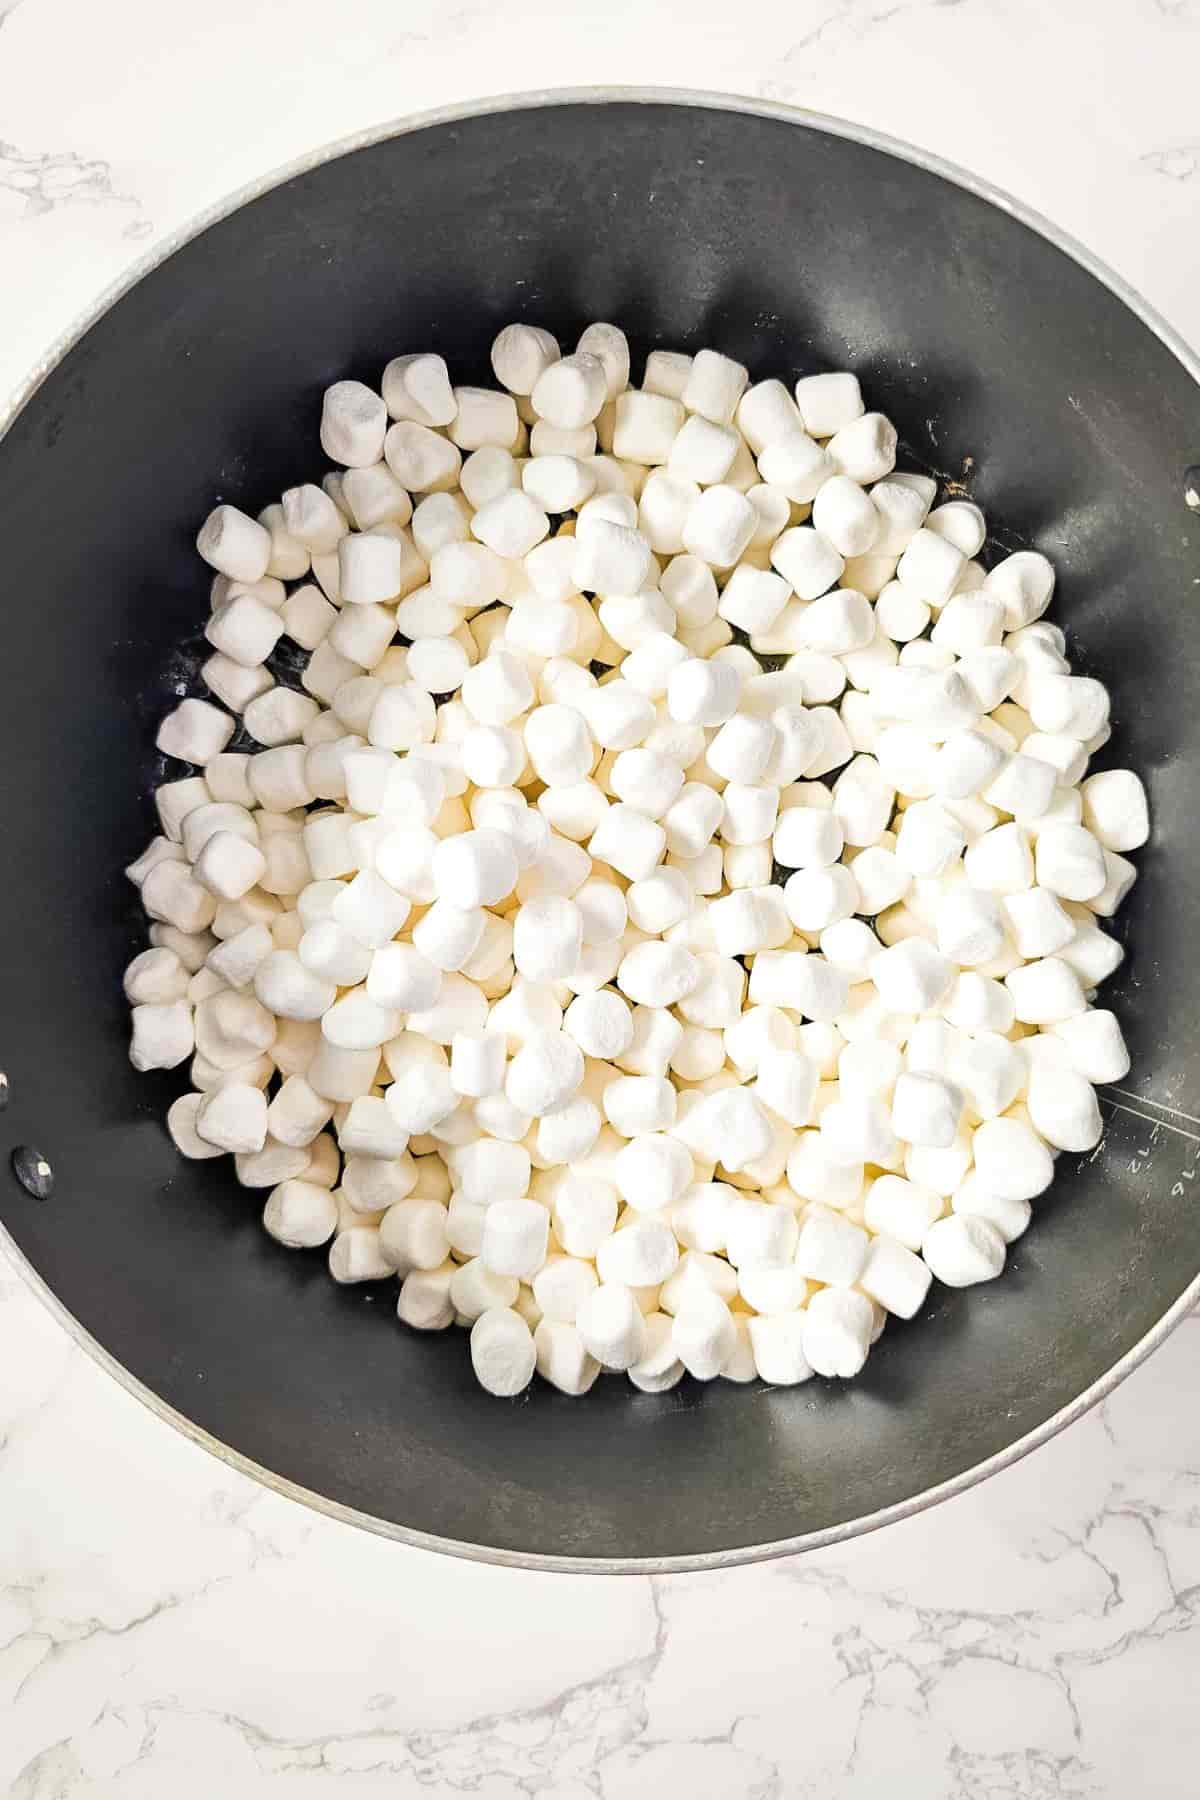
4. Stir continuously. Once completely melted, remove the saucepan from the stovetop.
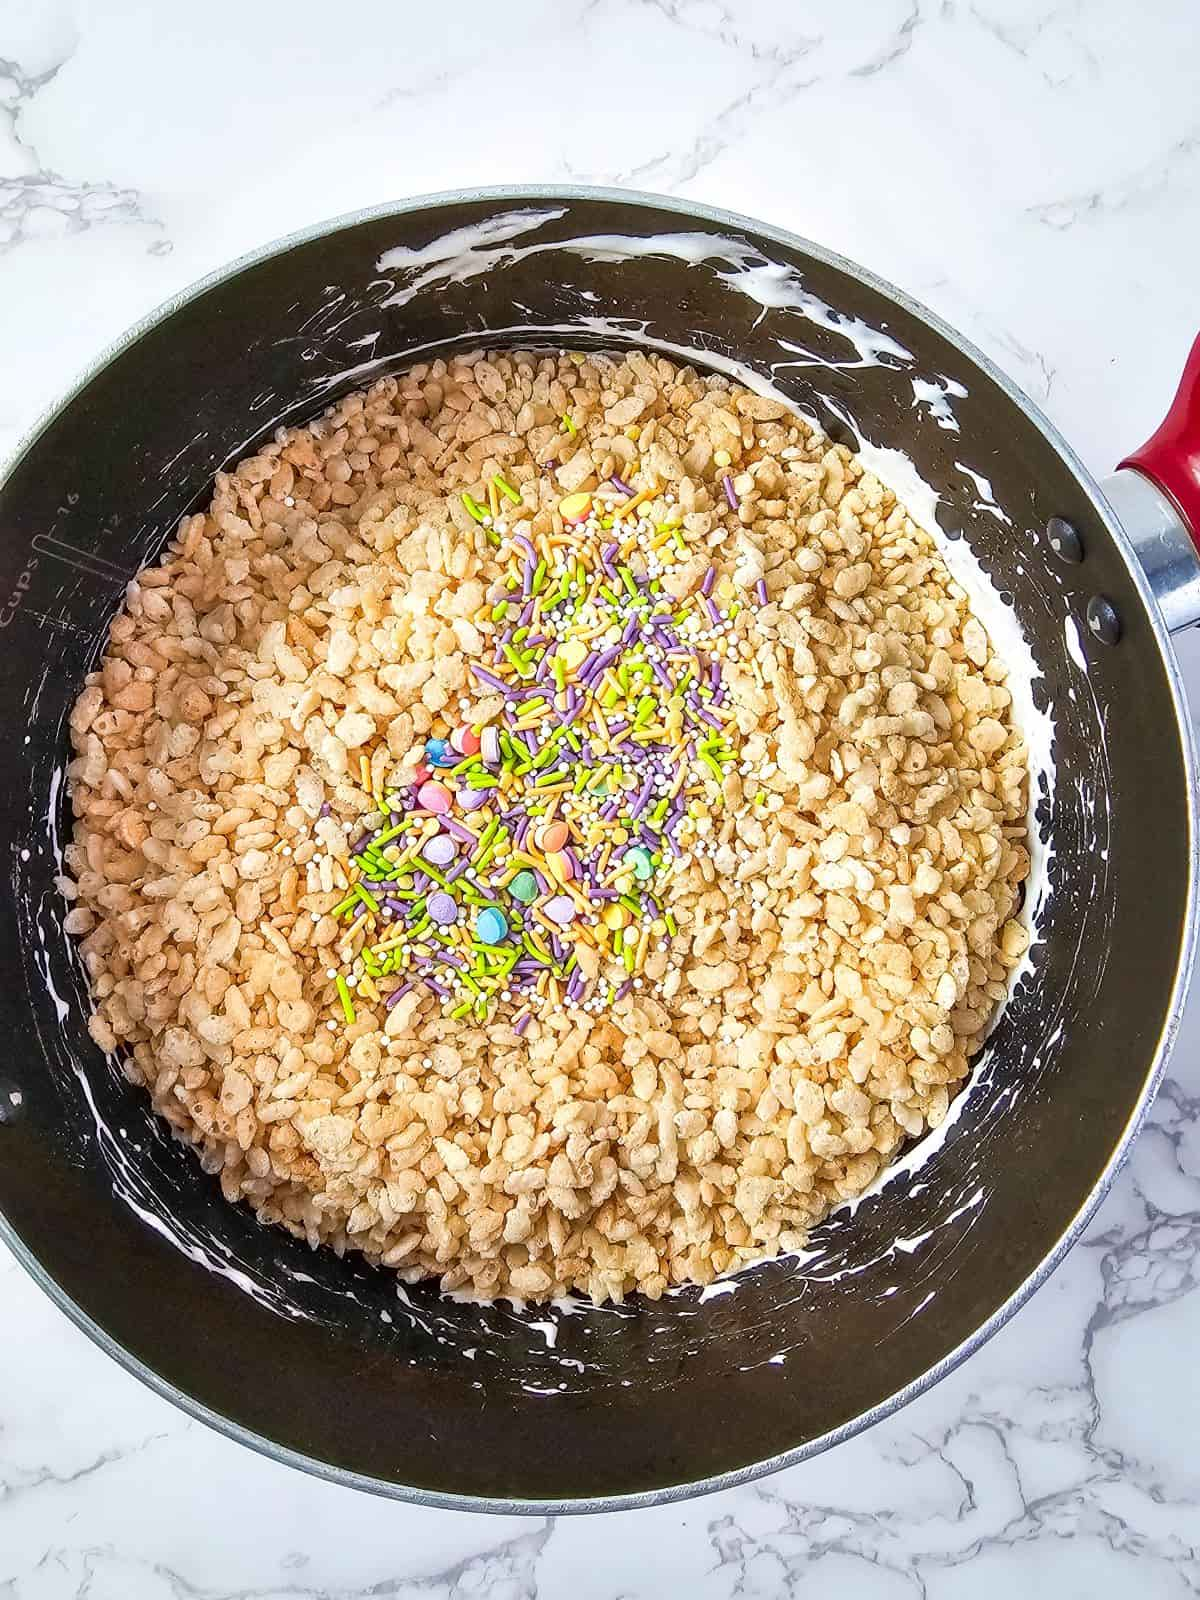
5. Add the rice krispies and sprinkles. Stir well to combine everything thoroughly.
6. Transfer the rice krispie mixture to the prepared baking dish and spread out evenly using a wooden spoon or rubber spatula.
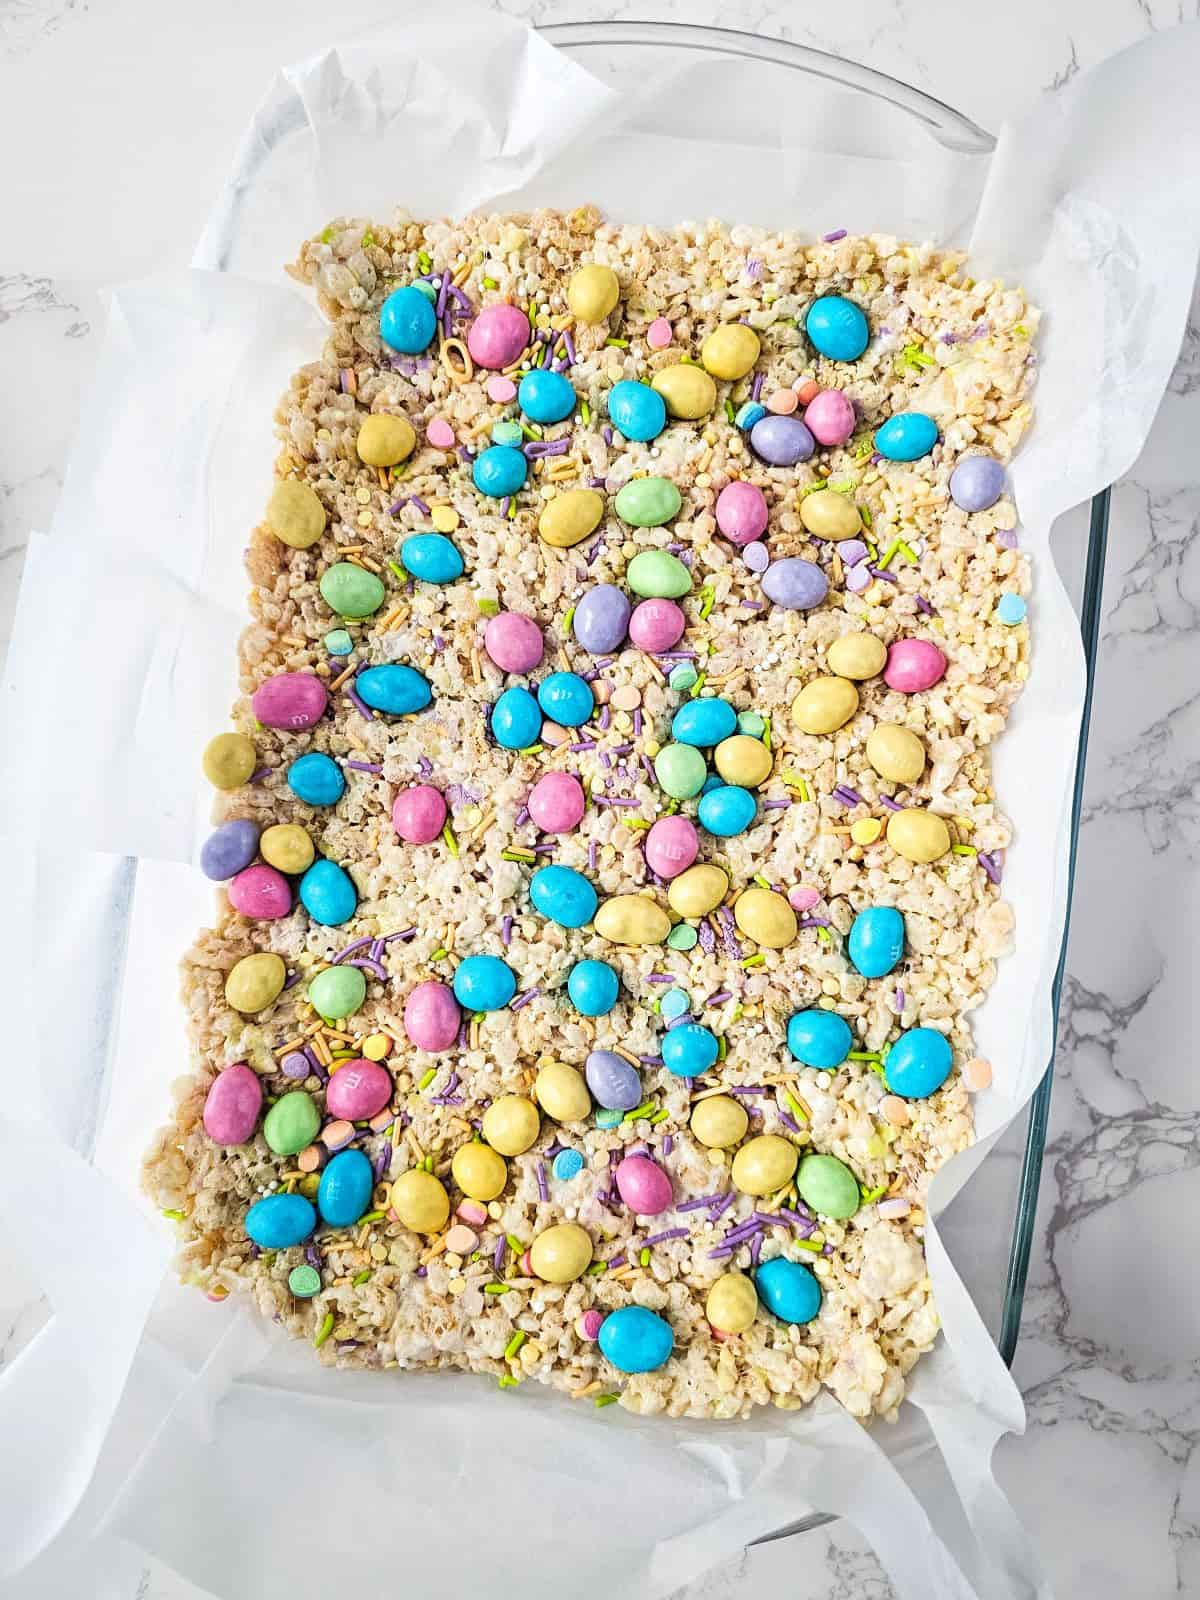
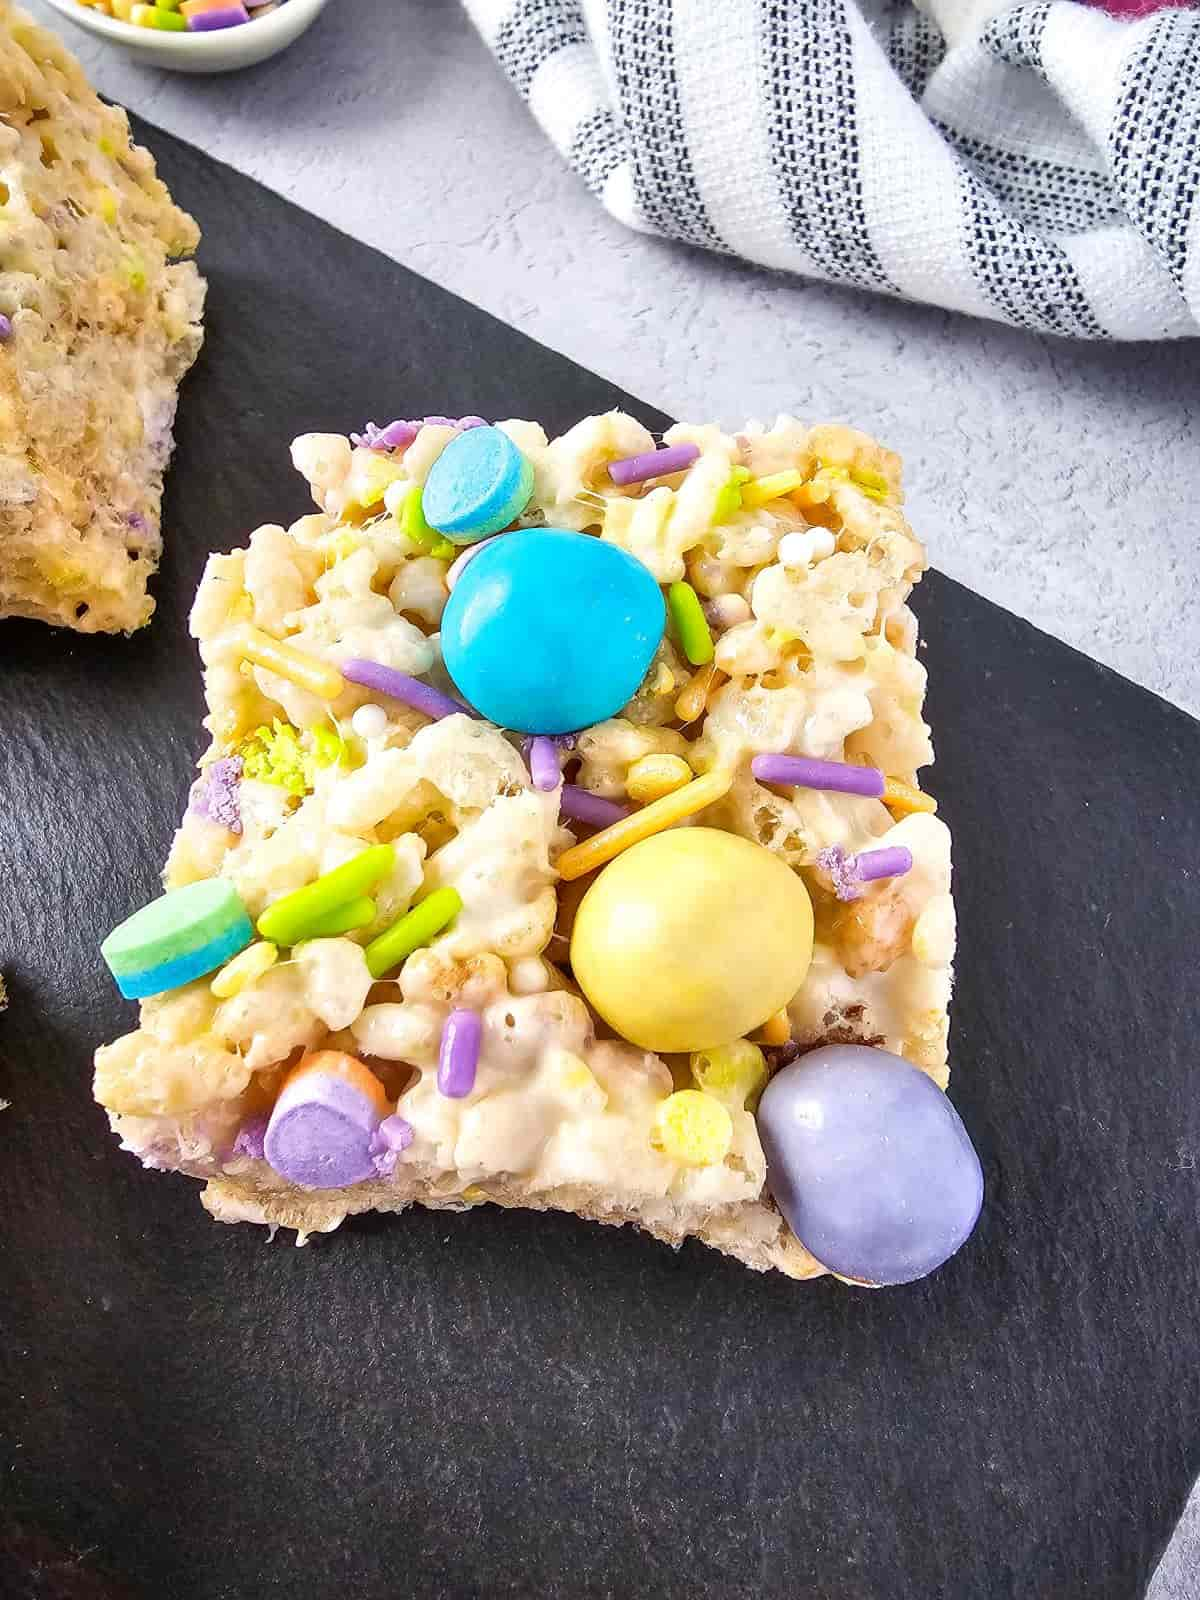
7. Add the Easter sprinkles and peanut M&Ms on top and gently press them into the rice krispies mixture.
8. Allow to cool completely at room temperature until the mixture becomes firm and holds its shape.
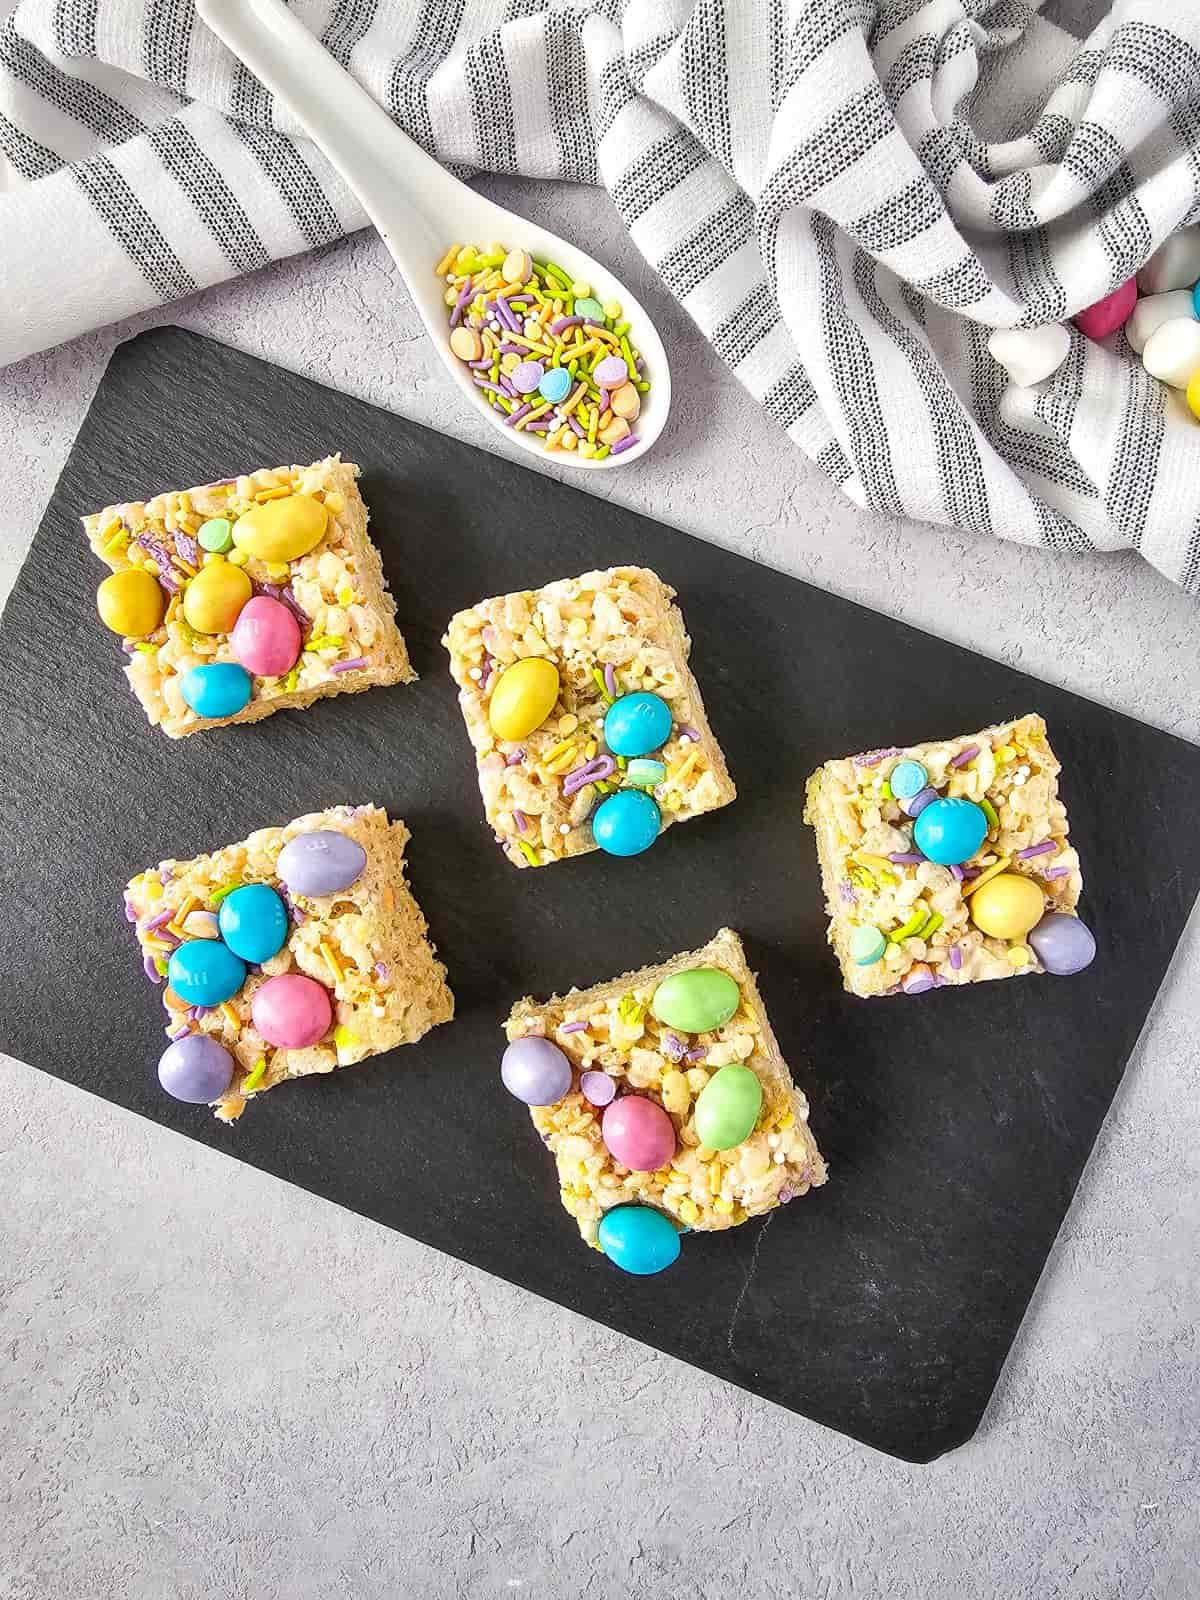
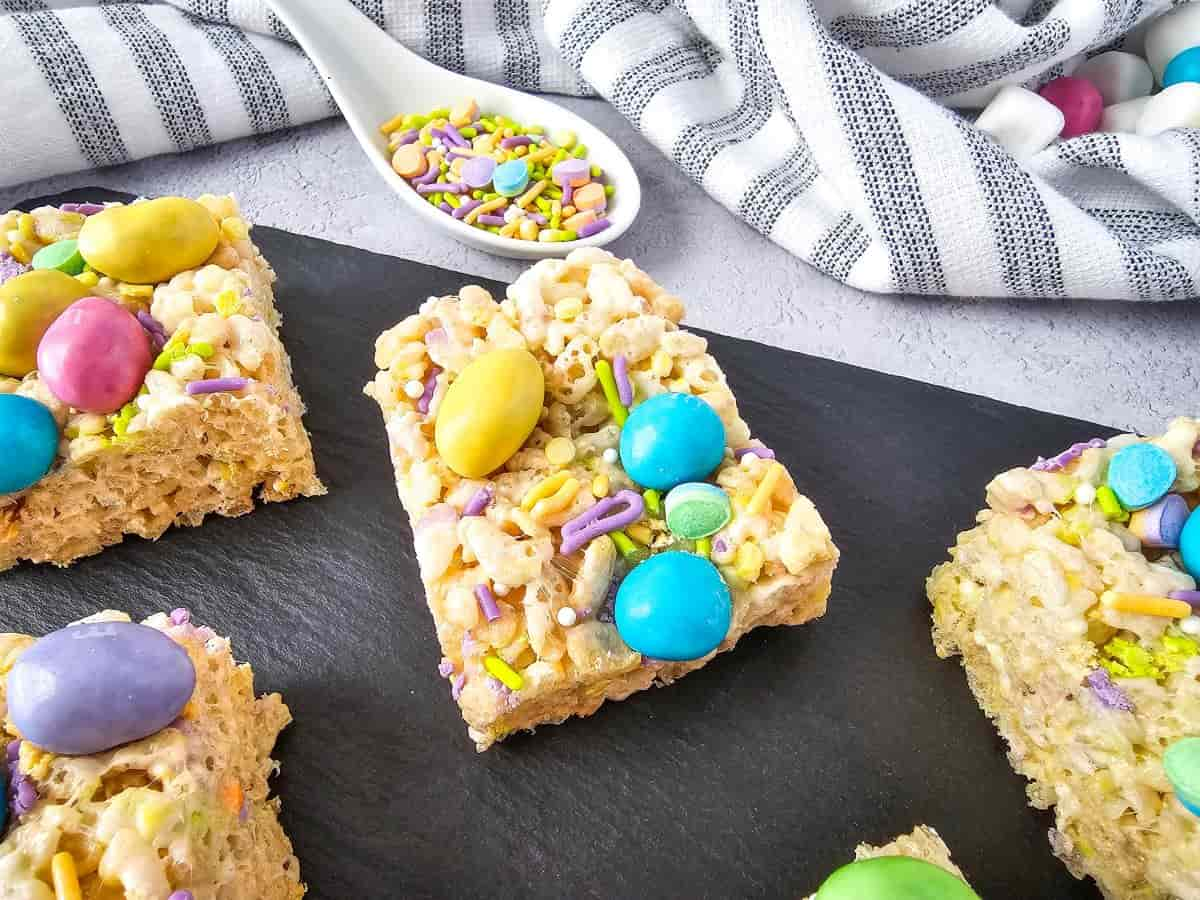
9. Once fully cooled, use a sharp knife to cut it into 24 bars or squares.
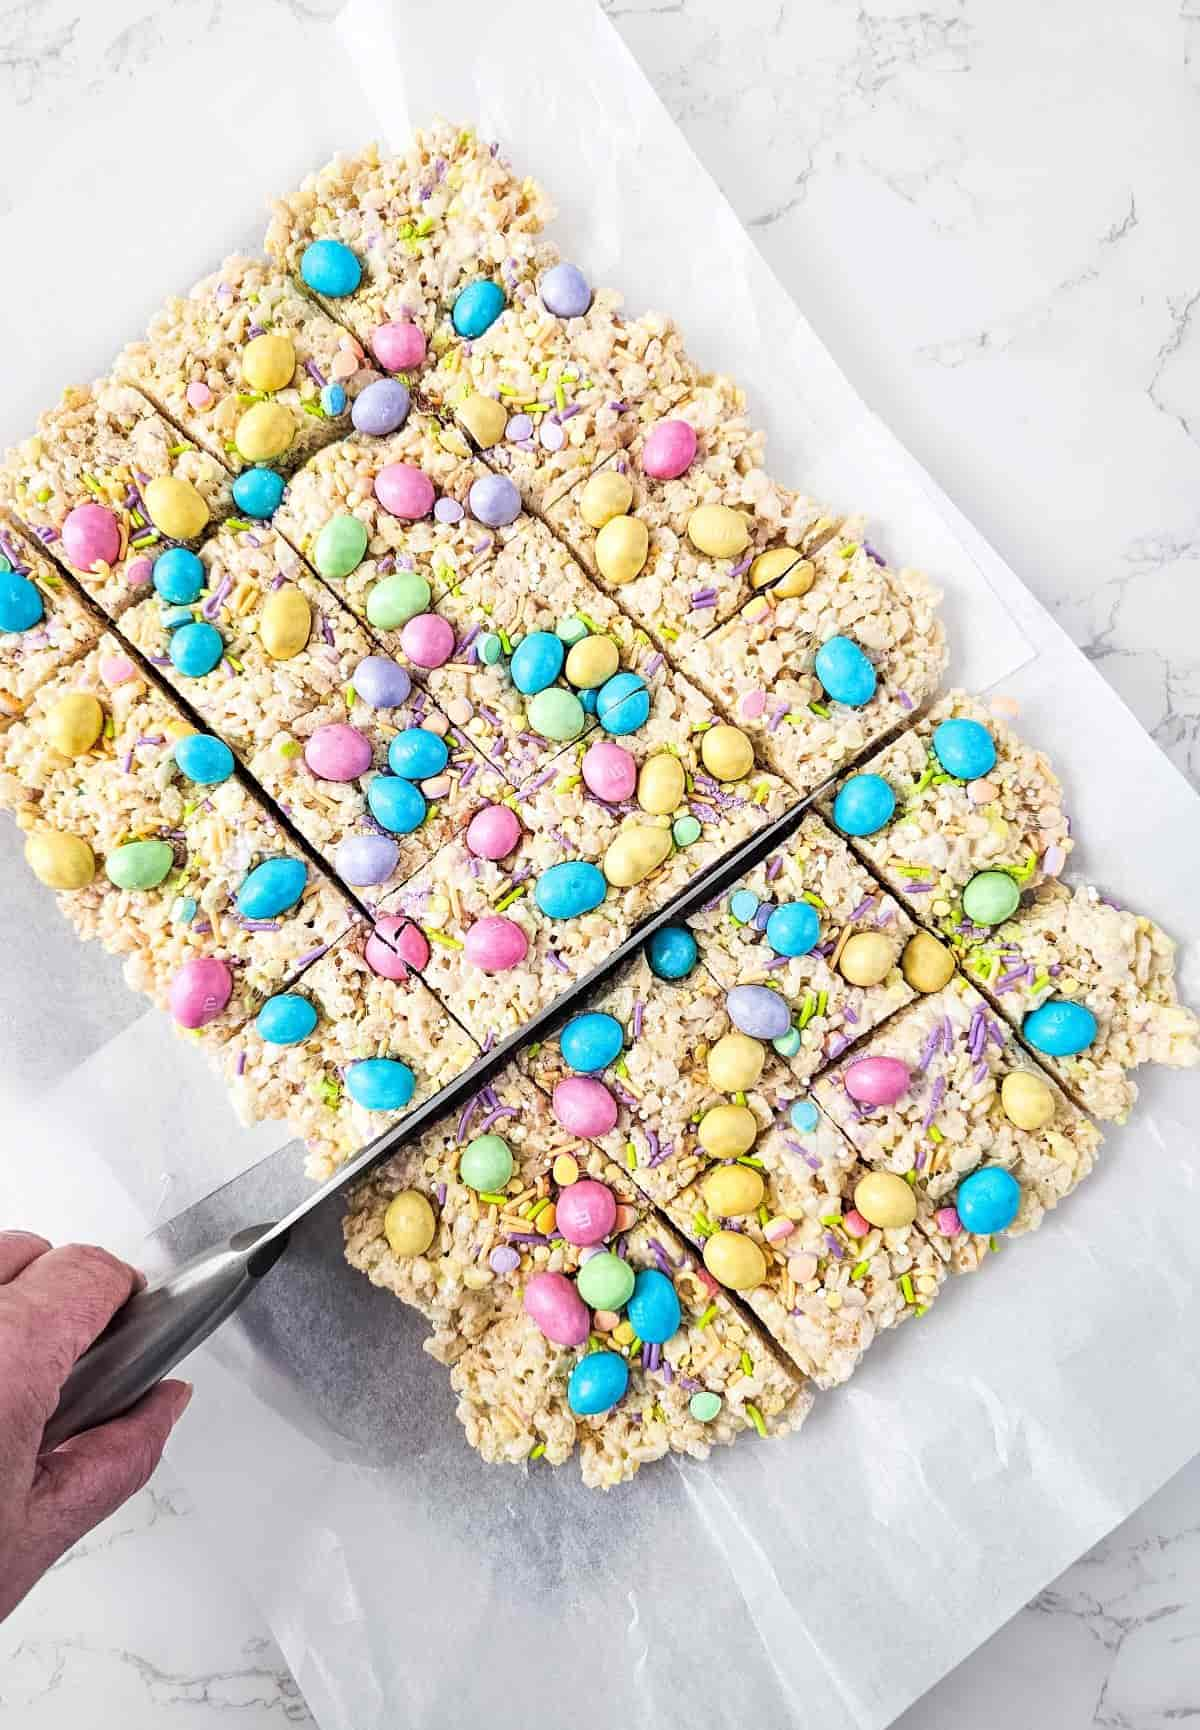
10. Arrange the M&M rice krispies treats on a platter or board and serve. Enjoy!
Variation Ideas
Don’t be afraid to add a twist to your M&M rice krispies treats! Here are some creative variation ideas to elevate your sweet creations.
- Marshmallow Fluff: For a gooey twist to your classic rice krispie treats, try adding some marshmallow fluff! This adds an extra layer of sweetness and gooeyness to your already chewy cereal bar that will make it even more fun and irresistible!
- Melted Chocolate Chips: For a different flavor twist, try mixing in some melted chocolate chips to add a rich and decadent chocolatey flavor to your treats.
- Mickey Mouse-shaped Treats: If you’re planning a Disney-themed party, how about making some Mickey Mouse-shaped treats? It’s a surefire way to impress your little guests! Simply use a cookie cutter to cut out the iconic shape and serve them on a festive plate.
- Extra Marshmallows: If you’re a fan of chewy treats, try adding some extra marshmallows into your treat mixture, for a more chewy and delicious cereal bar that you can snack on any time of the day!
- Vanilla Extract: Add a splash of vanilla extract to the melted marshmallow mixture for an extra layer of flavor that complements the sweetness of the M&Ms.
- Peanut Butter Lover’s Dream: Add a dollop of creamy peanut butter to the melted marshmallow mixture and stir until well combined. It adds a rich and creamy flavor and nutty smell that perfectly complements the sweetness of the marshmallows and the crunch of the Rice Krispies cereal.
Serving Suggestions
Check out these serving suggestions to showcase these adorable sweet treats and make them a hit for any occasion.
- Easter Baskets: Wrap your colorful M&M rice krispie treats in candy gift bags and place them in Easter baskets for a festive touch. It’s a fun and sweet surprise that kids will absolutely love!
- Serving Plate: Hosting an Easter gathering? Impress your guests by creating a stunning dessert display with these delightful treats. Stack them high on a serving plate, alternating layers with other bite-sized desserts like these mini turtle cheesecakes and these mini key lime pie bites.
- Candy-Coated Chocolates: Arrange these treats on a dessert table or serving tray alongside bowls of pastel-colored Easter candies for a visually appealing and irresistible display and watch how kids will race to the table to pick up these sweet treats!
- Easter Punch: Serve your rice krispie treats with a light and fruity Easter punch. The fruity flavors of the punch perfectly complement the sweetness of the treats. It’s a refreshing and tasty combo that everyone will enjoy after fun Easter activities!
Tips for Success
- Low Heat Melting: When melting the marshmallows and butter, it’s crucial to use medium-low heat. This ensures that the ingredients melt slowly and evenly, resulting in a smooth and creamy marshmallow mixture without risking burning or scorching.
- Working Quickly: Once you add the rice krispies to the melted marshmallows, work quickly to spread the mixture into the pan before it starts to set. The marshmallow mixture firms up easily, and it may be challenging to spread it in the baking dish.
- Even Mixing: Stirring the cereal mixture thoroughly is essential to ensure that your rice krispies are coated with the melted marshmallow evenly to ensure a consistent texture throughout the treats.
- Bottom of the Pot: When melting the marshmallows, scrape the bottom of the pot frequently to prevent them from sticking and burning.
- Pressing Technique: When transferring the mixture into the prepared pan, it’s essential to press it down firmly and evenly. Applying gentle pressure ensures that the treats hold together well without becoming too dense or crumbly.
Storage
Let your treats cool at room temperature. Once cooled, store them in an airtight container to maintain their freshness and deliciousness for days. To prolong their shelf life, wrap any leftover rice krispie treats in plastic wrap. Avoid storing them in the refrigerator, as it can cause them to harden. Keeping them at room temperature is the best way to preserve their chewy goodness.
If you prefer your treats warm, reheat them in the microwave at 5 second intervals. It makes them gooey and even more delicious.
One Last Thing
Easter is such a fun holiday to gather and bond with our families. And while preparation for big a gathering might seem labor intensive, these colorful M&M rice krispie treats are such an easy and fun dessert you can make in no time.
Plus, they don’t require perfection! Feel free to customize the recipe however you want, and enjoy these delicious Easter treats with your loved ones.
Whether you’re making them for a crowd or just for family, they’re sure to bring joy to your Easter celebrations. And remember, there’s no right or wrong way to enjoy them – so get creative and make them your own!
Wishing you a blessed Easter filled with joy and tasty treats!
Your Turn
If you make these rice krispie treats with M&Ms, please take a moment to let me know how you liked them by leaving a rating and a comment below on the recipe card.
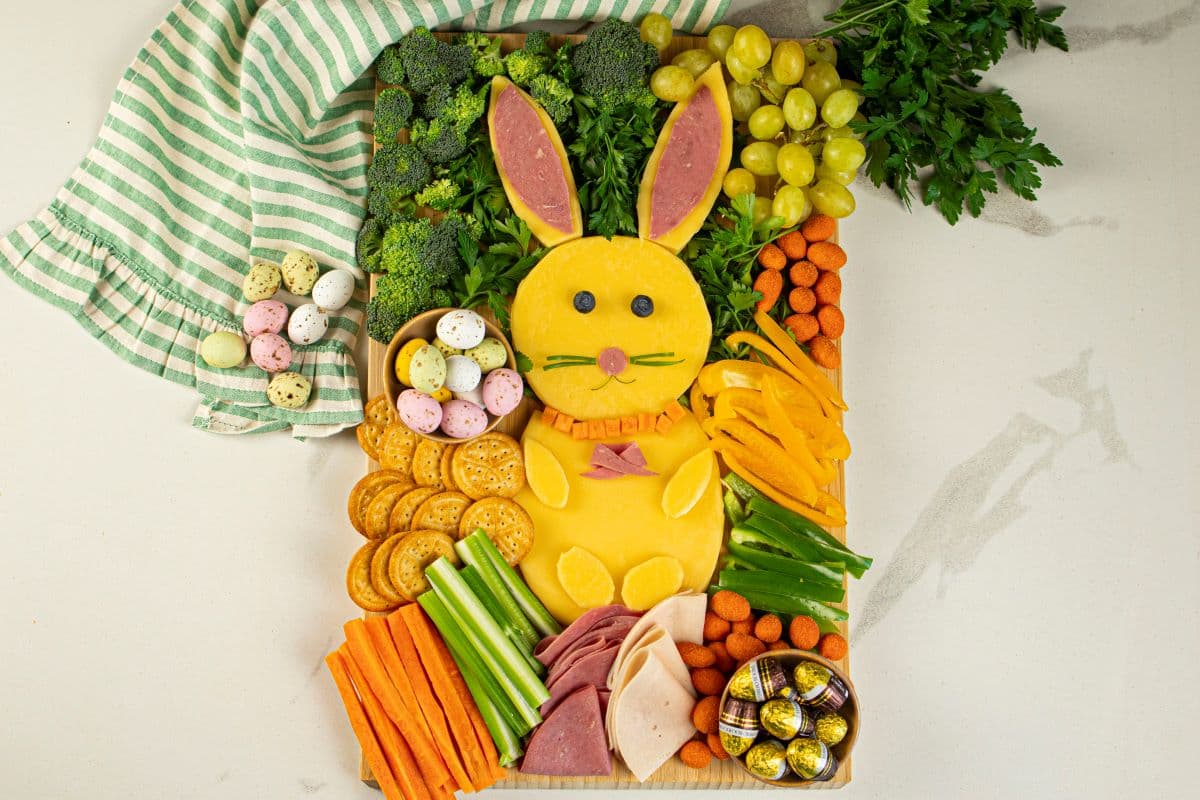
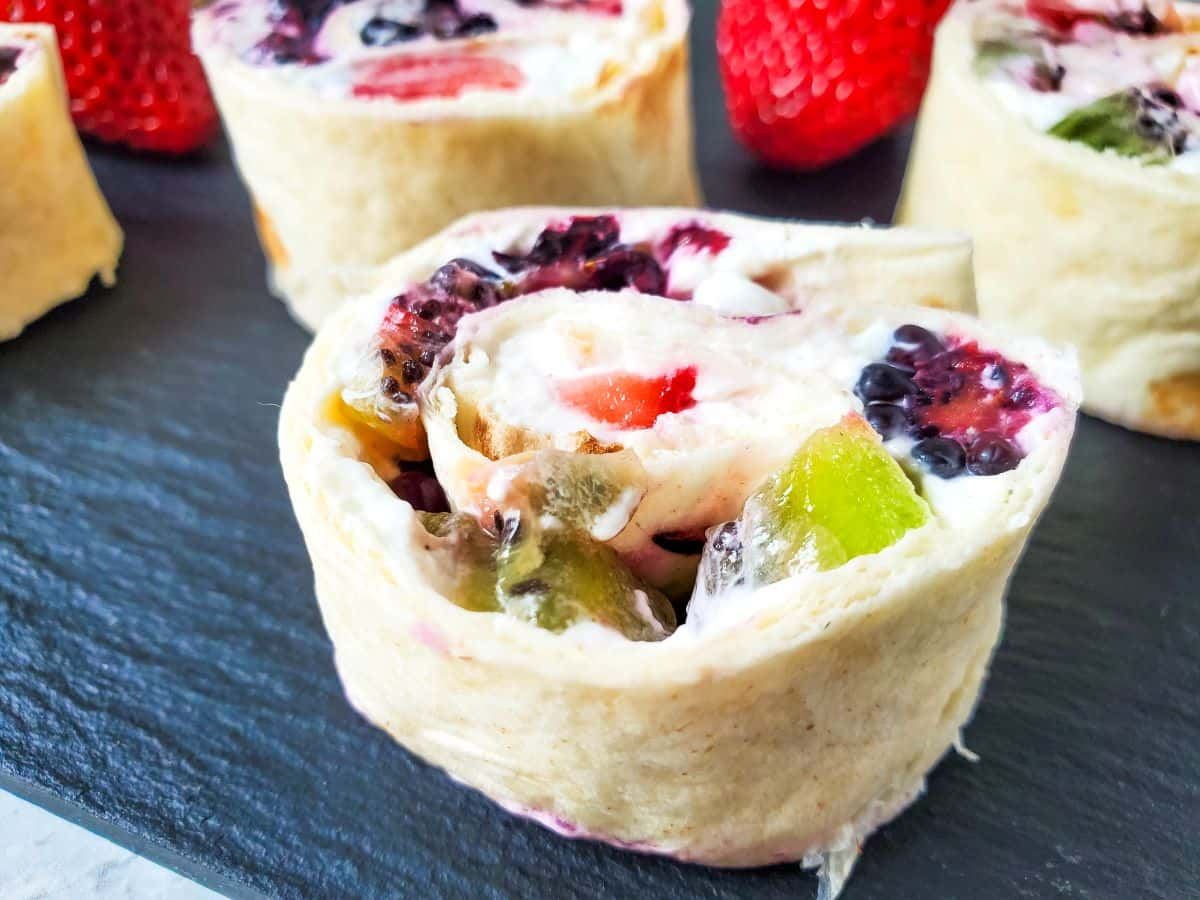
Also Try These Other Easy and Festive Treats for Easter


M&M Rice Krispie Treats That Are Perfect for Easter
Ingredients
- 6 cups rice krispies cereal
- 3 tbsp butter unsalted
- 3 cups mini marshmallows
- 1 cup Easter peanut M&Ms
- Easter sprinkles
Instructions
- Line a 9×13 inch baking dish with wax paper or parchment paper for easy cleanup, or grease with non-stick cooking spray to prevent sticking. Set aside.
- In a large pot or medium saucepan, melt the butter over medium-low heat.3 tbsp butter
- Once the butter is melted, add the 3 cups of mini marshmallows.3 cups mini marshmallows
- Stir continuously. Once completely melted, remove the saucepan from the stovetop.
- Add the rice krispies and sprinkles. Stir well to combine everything thoroughly.6 cups rice krispies cereal, Easter sprinkles
- Transfer the rice krispie mixture to the prepared baking dish and spread out evenly using a wooden spoon or rubber spatula.
- Add the Easter sprinkles and peanut M&Ms on top and gently press them into the rice krispies mixture.1 cup Easter peanut M&Ms, Easter sprinkles
- Allow to cool completely at room temperature until the mixture becomes firm and holds its shape.
- Once fully cooled, use a sharp knife to cut it into 24 bars or squares.
- Arrange the M&M rice krispies treats on a platter or board and serve. Enjoy!
Notes
- Low Heat Melting: When melting the marshmallows and butter, it’s crucial to use medium-low heat. This ensures that the ingredients melt slowly and evenly, resulting in a smooth and creamy marshmallow mixture without risking burning or scorching.
- Working Quickly: Once you add the rice krispies to the melted marshmallows, work quickly to spread the mixture into the pan before it starts to set. The marshmallow mixture firms up easily, and it may be challenging to spread it in the baking dish.
- Even Mixing: Stirring the cereal mixture thoroughly is essential to ensure that your rice krispies are coated with the melted marshmallow evenly to ensure a consistent texture throughout the treats.
- Bottom of the Pot: When melting the marshmallows, scrape the bottom of the pot frequently to prevent them from sticking and burning.
- Pressing Technique: When transferring the mixture into the prepared pan, it’s essential to press it down firmly and evenly. Applying gentle pressure ensures that the treats hold together well without becoming too dense or crumbly.
Nutrition
Tamara Tsaturyan is the owner and writer of Thriving In Parenting, a website focused on providing simple tips for busy parents — easy and healthy recipes, home decor and organization ideas and all things P A R E N T I N G.

Share Your Thoughts!
I love to know your thoughts, make sure to comment below to start a discussion! You can also follow me on your favorite social network below.